


 Reply With Quote
The box arrived quickly and in great condition. If you watch the LOD Armor Lite front install video, I'm sure I address how well LOD packages everything. They are still up to their old ways and packaging the heck out of their bumpers.
Basically LOD Offroad wraps the bumper in heavy gauge clear plastic and seals it up. They then use expanding spray foam to completely surround the bumper, effectively suspending it in the shipping box. This method virtually guarantees that your bumper arrives in one piece. Sure, its a pain in the ass to get through all that foam to your new bumper (mainly because I'm impatient), but its completey worth it when you pull it out and its scratch and dent free. Way to go LOD.
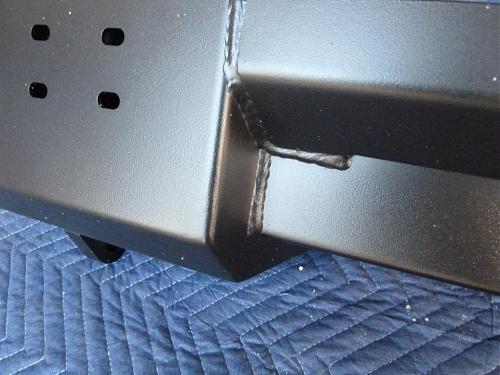
LOD's finish and construction are top-notch. I didn't find any burrs, chips, crappy welds or any cover-ups. Just the same top-end finishing that I got with my front bumper.


Connect With Us