

 Reply With Quote
Beach Pic. Very nice.


Some pics of my rig. Had to copy them off my Instagram since I don't really have that many photos of her.. She's pretty much a city crawler.. Closest thing I get here in New Orleans to off roading is mud/swamp. Stinky clay nasty mud!..Attachment 828Attachment 828Attachment 829Attachment 830
Beach Pic. Very nice.
Thanks Jeff for the video.
Finally getting started on writing up the install...
First, a reminder that I have very little experience working on cars. I'm not a mechanic. I've done quite a bit with motorcycles: basic maintenance, custom installation of "universal fit" automotive cruise control, valve clearance checks, remove/reinstall suspension components, etc. It turns out that working on a vehicle that is parked outside at all times and is driven year-round in a state that gets snow and salts their roads is tougher than working on a motorcycle that enjoys mostly fair weather riding and is always stored in a garage. Basically, I have tools and I'm not afraid to use them as long as I can find good information about what I need to be doing (factory service manual, online instructions/videos, etc). I have collected a decent range of skills/knowledge about generally working on things, but am not trained or an expert in anything.
This turbo kit is NOT a "simple" DIY install. The target audience of the install guide is someone that knows how to work on cars already, knows the tricks, dos/don'ts, etc. This install put me at the edge of my comfort zone (and maybe a bit beyond) a few times. I'm lucky enough to know some people that have much more experience/knowledge working on vehicles than me. I would not recommend going at this alone, unless you have a very well-stocked tool supply and plenty of experience working on vehicles. Having a friend help out that had additional knowledge/experience and additional tools saved me from some potentially frustrating/discouraging situations. Even if you are an expert, have a competent friend help you. There are some steps that really benefit from an extra set of hands, and its always nice to bounce ideas off another competent person when deciding how to approach a tricky step. It was quite an experience. In the end, I succeeded, and I have gained some new experience/knowledge to increase my confidence in whatever project I tackle next.
If you decide to tackle this as a DIYer, just assume that it will take a couple days to get everything fully complete, take your time, walk away when frustrated, and don't forget to eat. Working on an empty stomach while trying to rush something along is a disaster waiting to happen. Assume you'll have to take time away from the project to run to stores for more tools. I took a day off work for the first day of installing so that I could do it during business hours. This allowed me to run to stores when needed, and also call Prodigy to get questions answered when I needed clarification (better to ask for clarification than to move ahead with an assumption).
And now an apology for not getting full photographic coverage of the install. There were many times I was just "in the zone" doing stuff and didn't stop to take pictures of certain details. I didn't have a dedicated photographer to document the install, so there are very few "action" shots. Feel free to ask for more clear photos from different angles, etc., of things as they are installed in final form, and I will do my best to take additional photos. but I obviously can't go back and get any more/better pics of the install process itself.
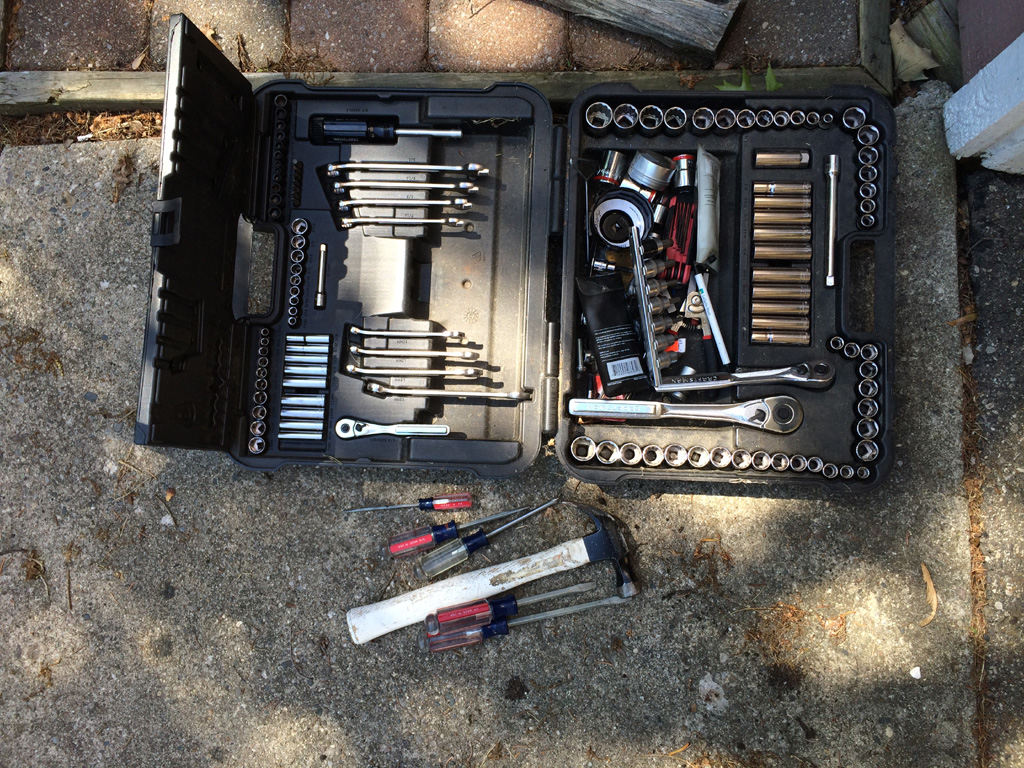
So here's the majority of my tools:
A basic socket/wrench set. I also have a small tool bag with other typical stuff: hammer, screw drivers of various sizes, torx driver bits, various pliers, side cutters, utility knives, adjustable crescent wrench, box/open wrenches in more sizes than included in the pictured tool kit, etc. I also have other typical handy-man tools like a drill and a dremel.
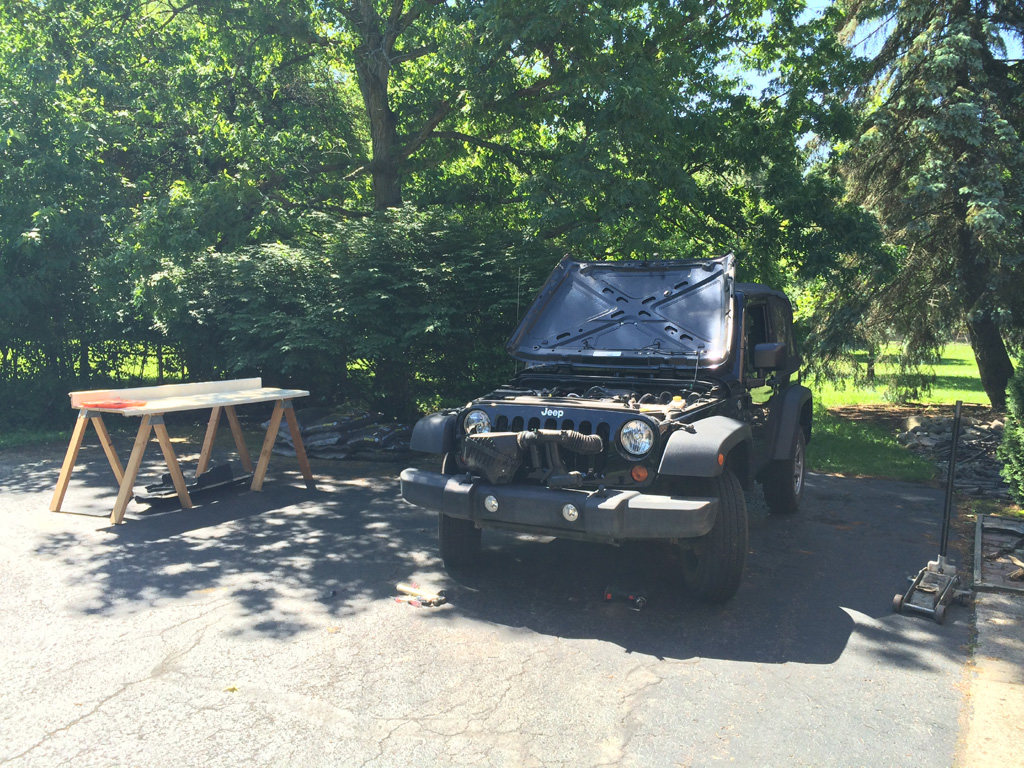
My work area is not very glamorous:
My driveway. With a jack and jack stands to get a little more room under the jeep. And an old counter top on saw horses for a temporary work bench.
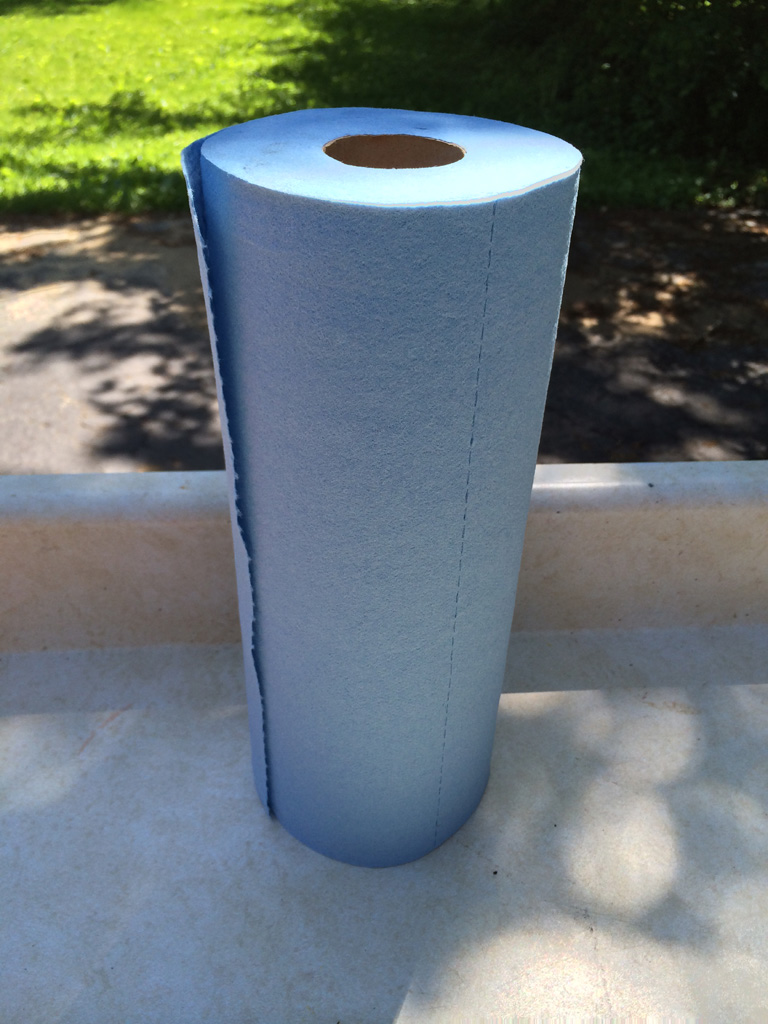
A roll of disposable shop towels was very useful. I always had a clean one sticking out of my pocket ready to be used:
Now let's jump into the install itself.
As you can see in my previous post, I just opened my hood all the way, and placed a towel between the hood and the windshield frame. Very convenient!
First step: disconnect the negative side of the battery. That should really be the first step before doing anything non-trivial on a vehicle, but I forgot about this until later when I made sparks fly while wrenching near the starter motor!
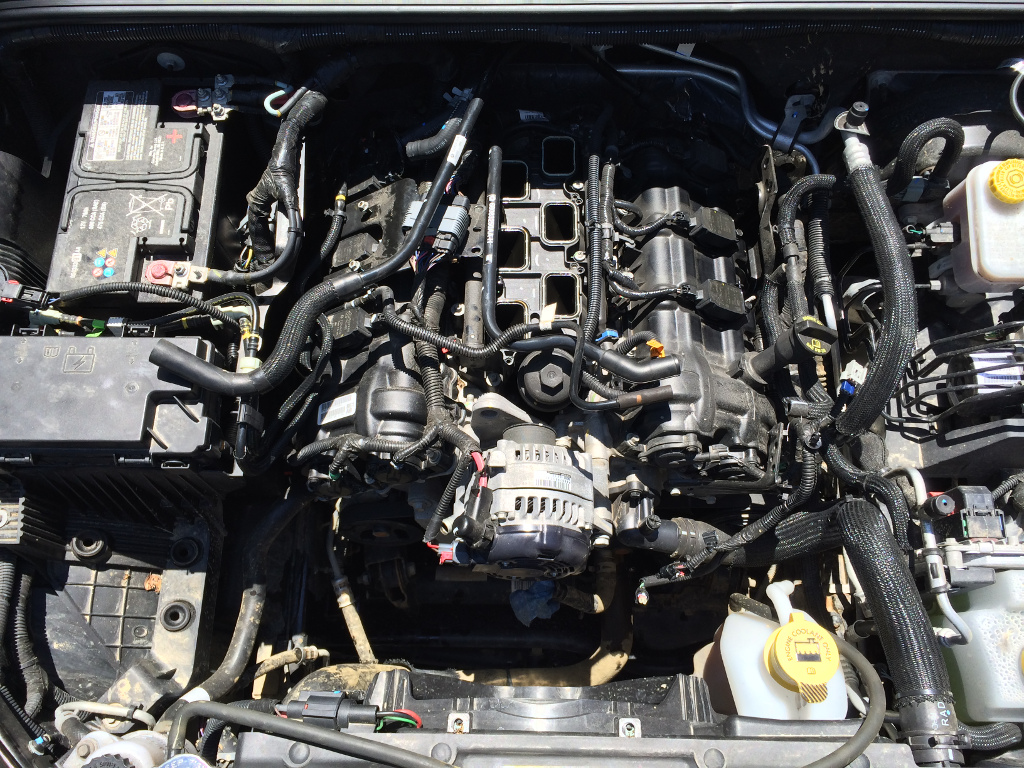
Remove the plastic engine cover. If you need directions/photos for this, then please don't attempt a turbo install
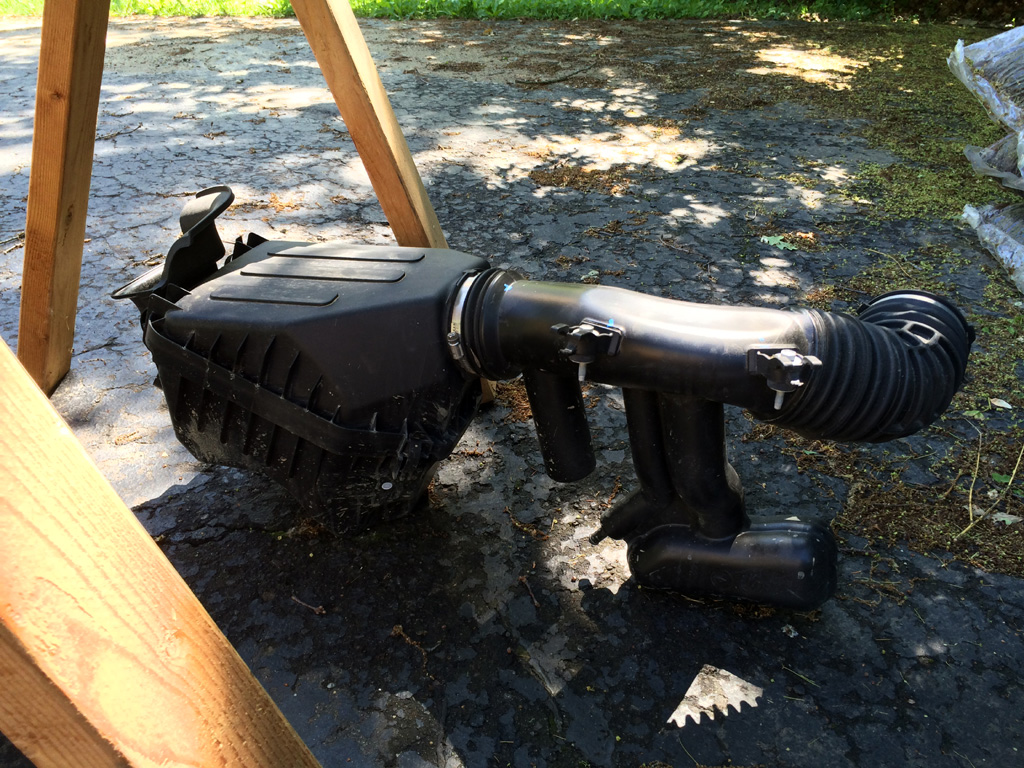
The first casualty of the install is the air filter box and intake tract:
It's pretty straight-forward. Remove two bolts, pull off any hoses and sensor connectors that are attached to it, loosen the clamp on the throttle body,open the latches for the air filter box, then everything but the lower part of the air box comes out. The lower part of the air box is easiest to remove by itself as a second step: it just pops out.
The IAT (intake air temp) sensor needs to be carefully removed from the intake tract and safely set aside for later use. Be careful with it: the part of the sensor sticking into the intake seems pretty flimsy.
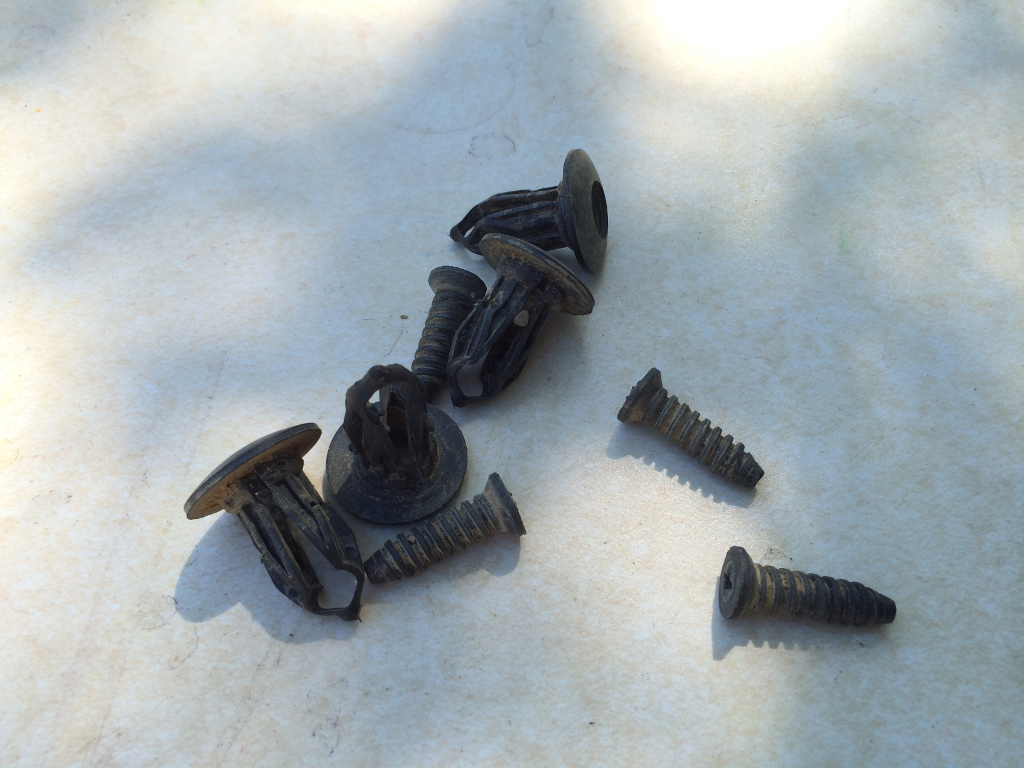
Next up is to remove the air dam under the front bumper. I don't seem to have any pics of this happening, but I struggled a bit with these stupid plastic fasteners:
Simply trying to unscrew them did nothing useful. For most of them, I was able to get a flat blade screwdriver on the back side of the dam, inside the fastener, and apply pressure on the tip of the screw part. This helped the screw "bite" and actually back out as I unscrewed with a phillips screwdriver. Two of them were difficult to reach, so I ended up using brute force with a drill, flat blade screw driver and a hammer to destroy them. I still don't know the best technique to getting these out. This step took way longer than I expected.
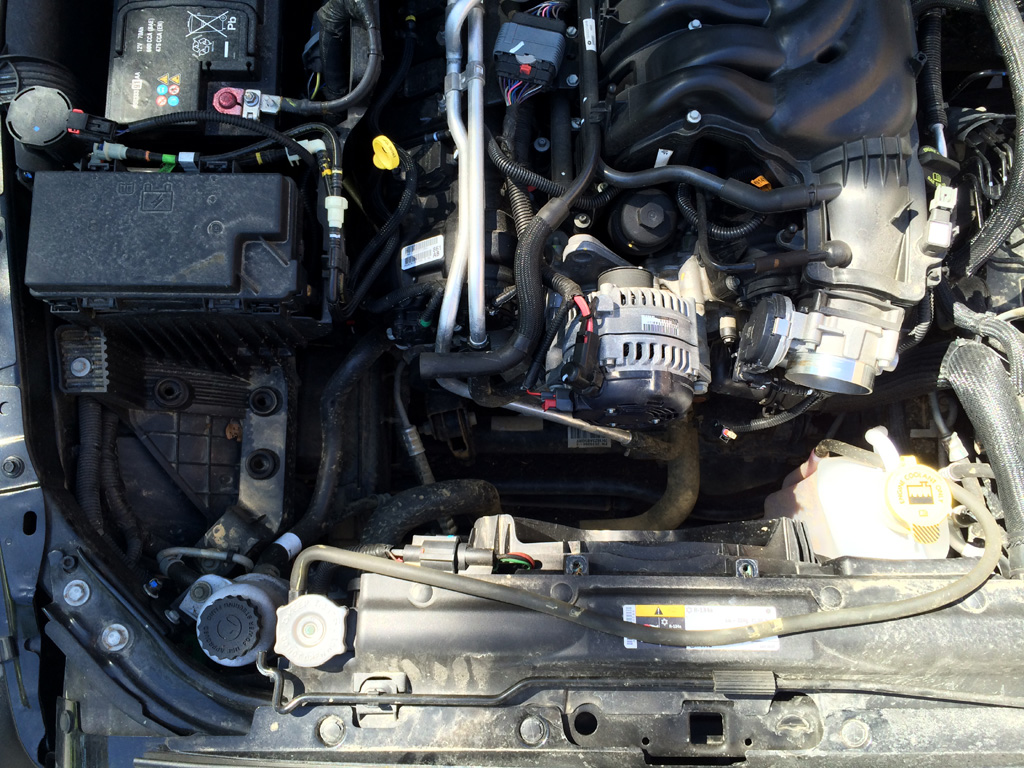
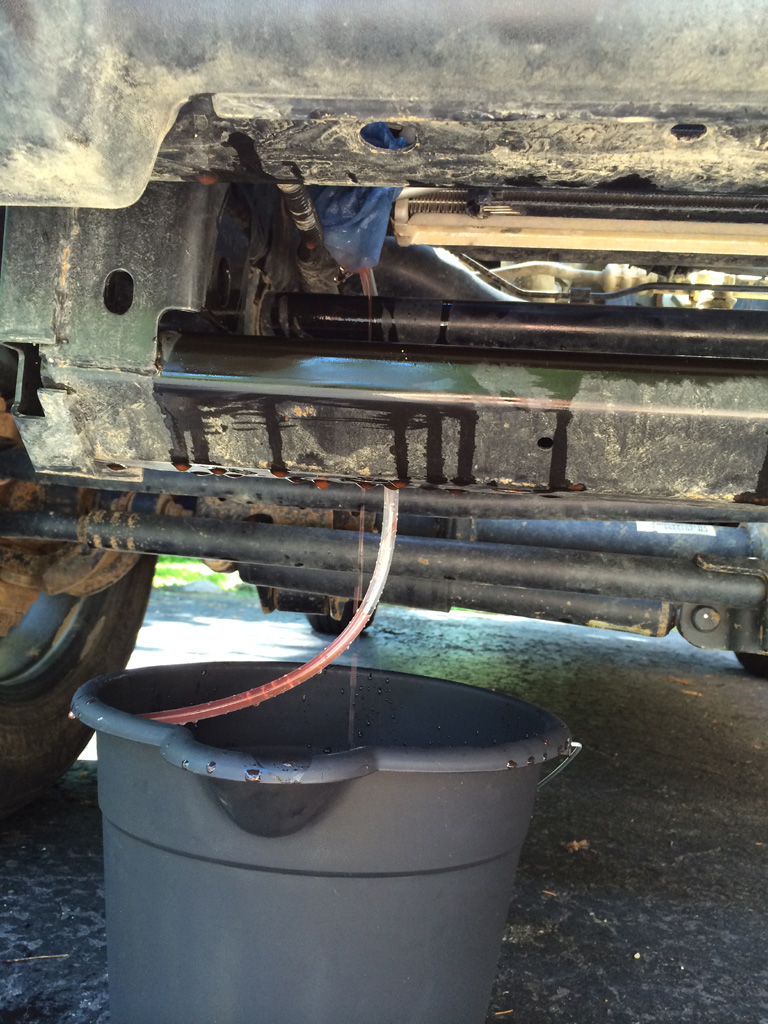
With the air dam out of the way, it's time to drain coolant out of the radiator. Open the radiator cap to allow air in while it drains. You drain it from this plastic petcock on the bottom passenger side:
That petcock has a nipple on the bottom of it. I conveniently had a plastic tube that would fit on that nipple, which came from this bottle pump (that I bought for pumping transmission fluid into the trans):
That nipple with the tube on it gave me confidence that I would have a mess-free coolant draining experience. I was wrong. When you twist that petcock open, more fluid comes out past the valve handle than actually flows through the nipple. I wrapped a shop towel around it to help direct the flow:
As you can see, I had much coolant go everywhere except for where I expected it to go. This is a common theme. Expect coolant to come out in unexpected ways from unexpected places at various times, and be prepared to throw a bucket under the pouring coolant, and also have a hose ready to rinse things off.
The coolant drains very slowly, and less came out than I expected. I had two of those buckets (bought from the dollar store) ready to capture up to the full 10 quarts of coolant. I barely needed one bucket:
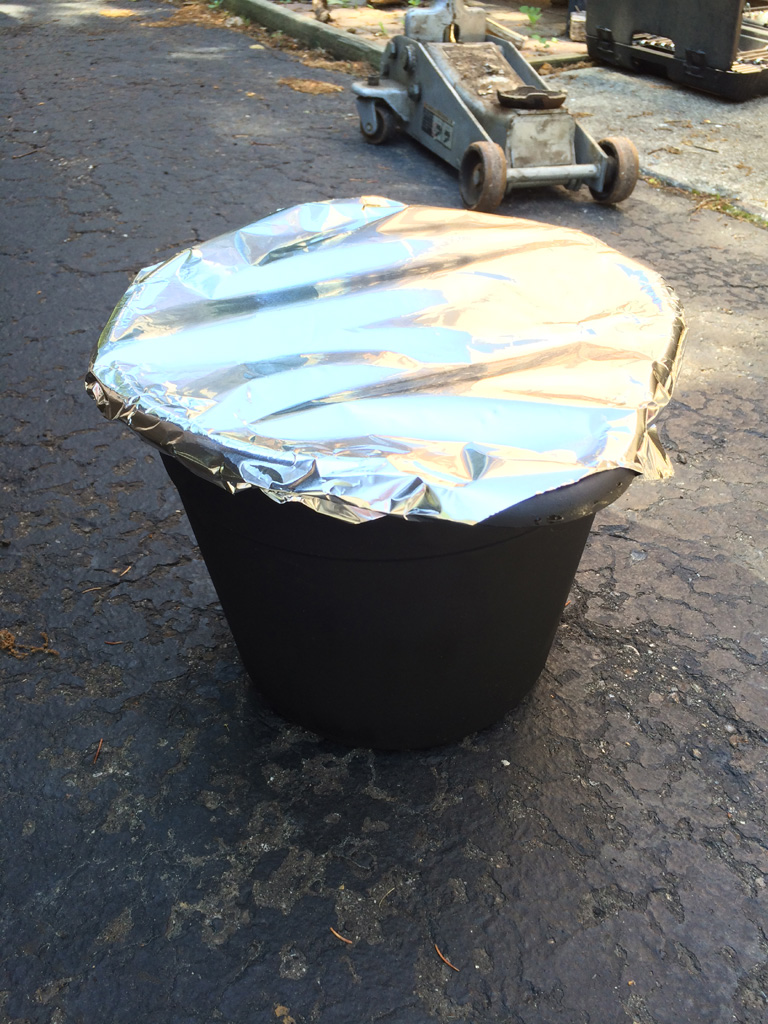
I covered the bucket with aluminum foil to avoid unnecessary contamination and set it aside (pour it back in later). This step was messier than expected and took longer than expected due to scrambling to clean up the messes.
With the coolant partially drained, it's time to really start digging into this.
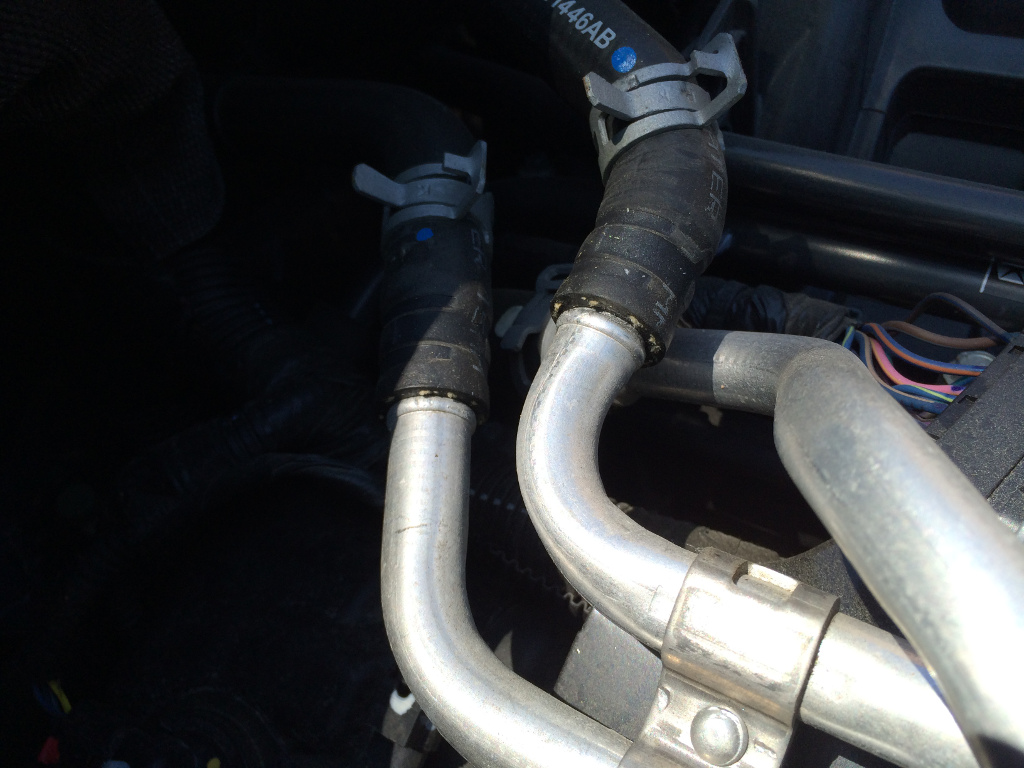
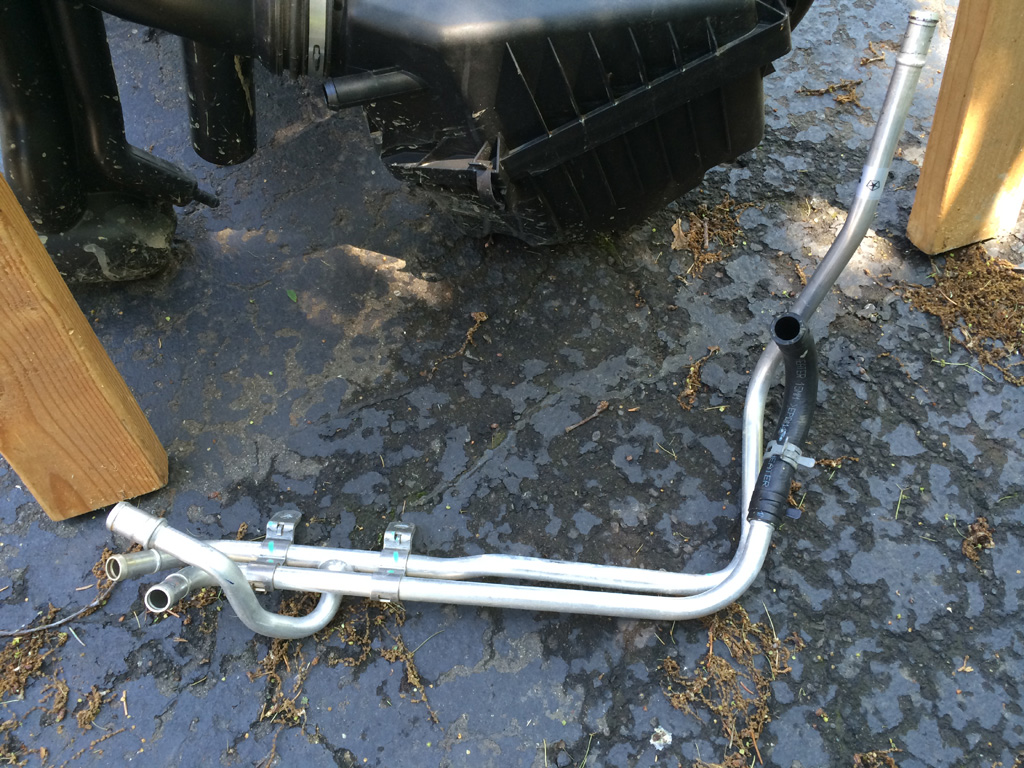
These aluminum pipes carry coolant to/from the heater core (for blowing toasty warm air into the cabin):
Some aspects of this pipe assembly and the hoses attached to it in front of the engine are in the way of turbo stuff, so out it comes. It will be replaced by hoses later:
Moving the hose clamps out of the way is the easy part. Disconnecting the hoses is the fun part. They were really stuck for me. I ended up very carefully working a flat blade screwdriver under the hose, all around, to break the hoses free from the aluminum. Patience is useful here. Notice that one of the hoses comes off with the pipes. Don't wast your time separating that hose from the pipe assembly.
Also, there will still be some coolant in these pipes/hoses. Have something ready to catch it when it pours out, and you might as well bend hoses around to pour as much out as possible now rather than let it surprise you later.
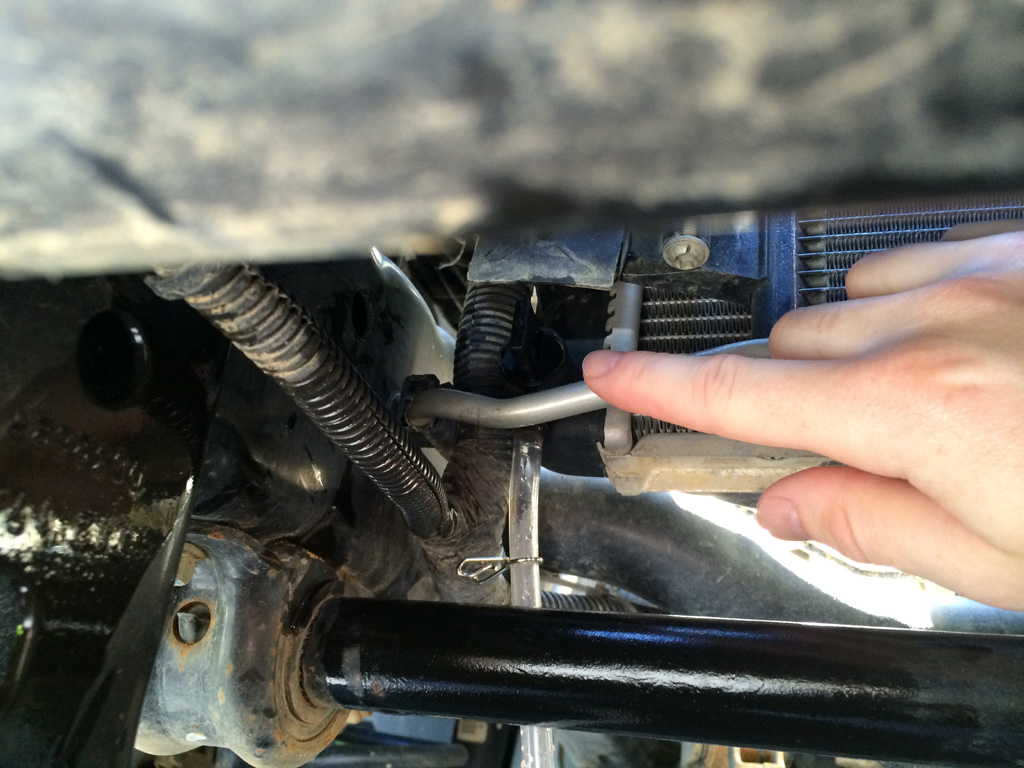
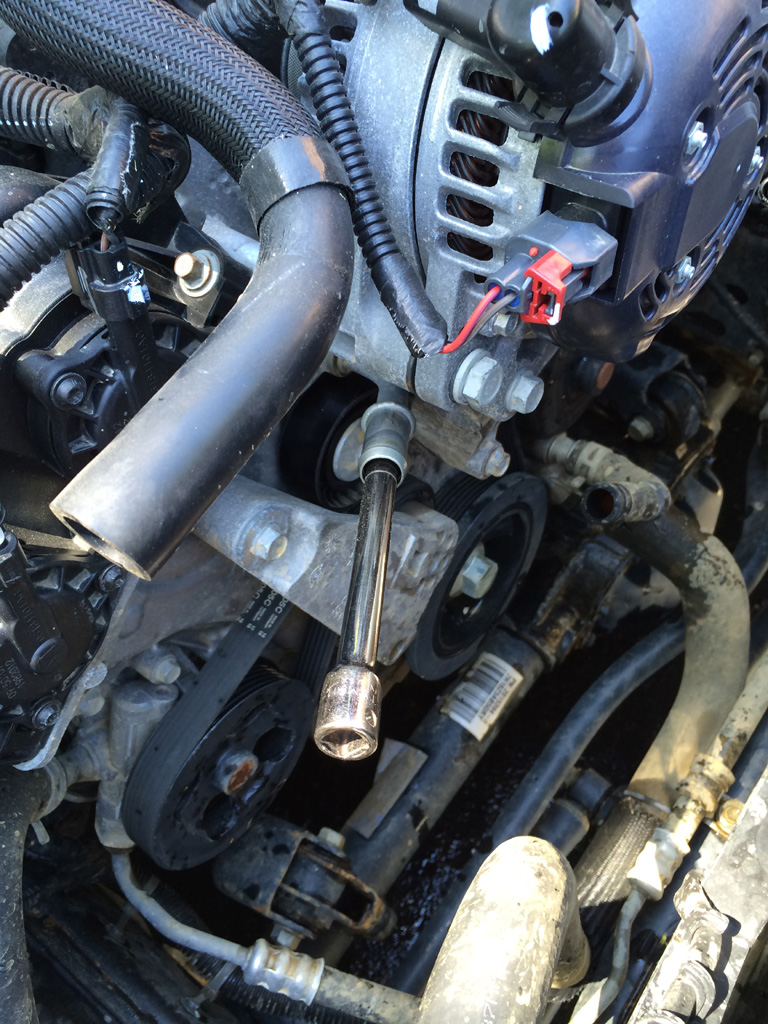
This aluminum pipe under the alternator was connected to those coolant pipes with a hose.
It needs to point more upward that it originally was. The instructions say to put a box wrench around the pipe, then gently rotate it upward. I didn't have a wrench large enough, but a 3/8" socket extention fit INSIDE the pipe nicely and did the same job.
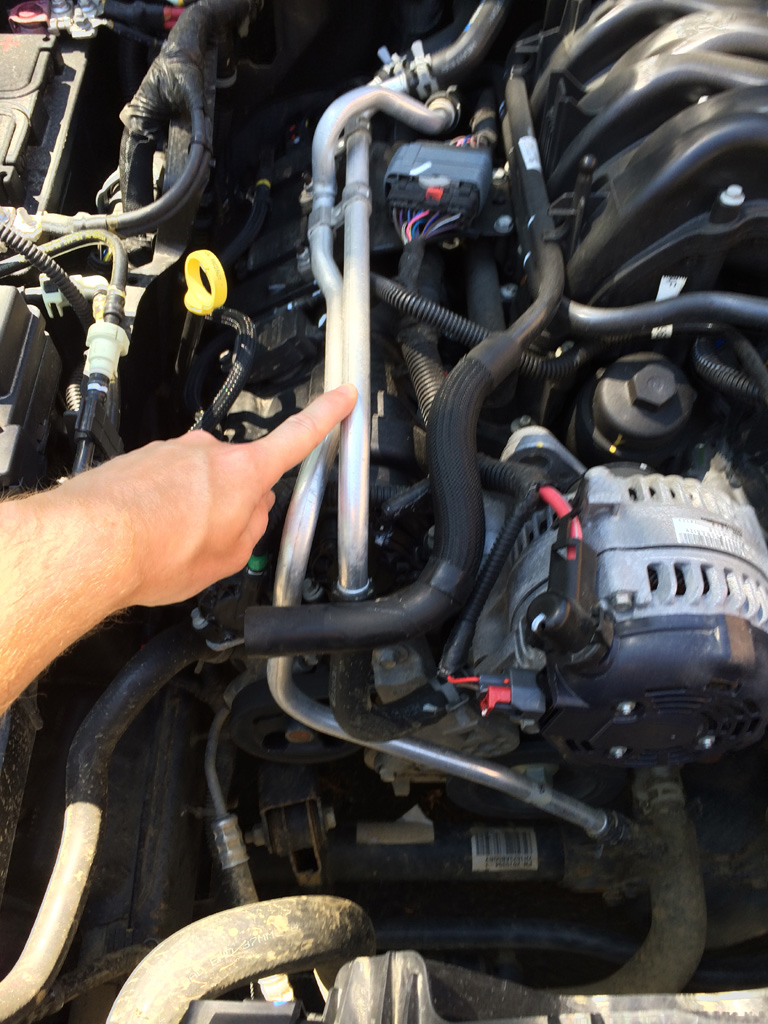
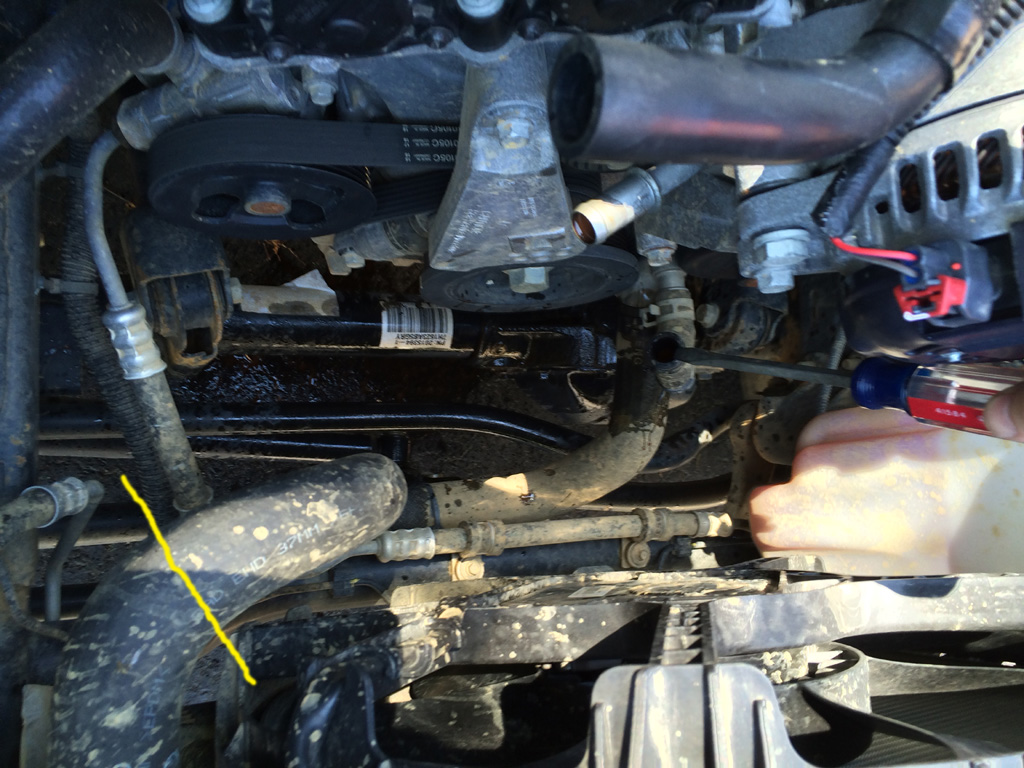
This next picture shows 3 things:
1) My screwdriver is pointing out a hose that was still VERY full of coolant. Be prepared!
3) The small pipe that I just rotated upwards, but in its original more downward orientation (straight up from where my screwdriver is pointing).
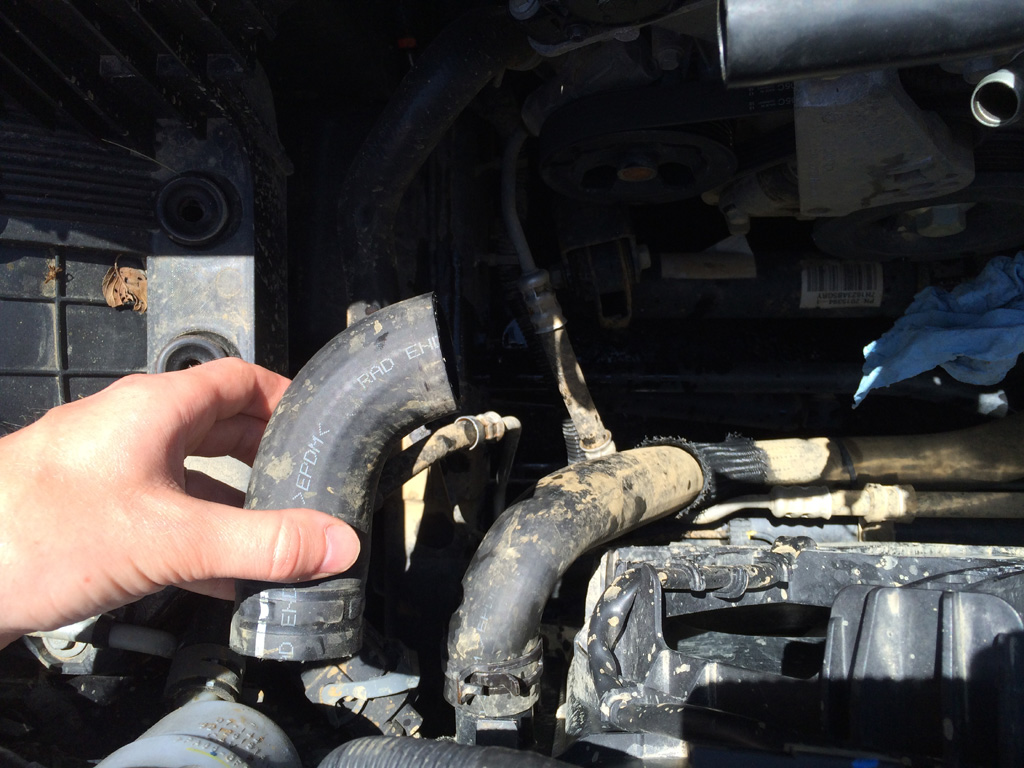
3) The yellow line is crossing through one of the radiator hoses. That hose is also in the way of turbo stuff, so it must be trimmed, about where the yellow line is.
Much more room! An anti-abrasion sheath on that hose also needs to be repositioned (it's quite obvious where it needs to be). The instructions include a helpful tip to use the hose clamp as a cutting guide for a nice straight cut, using a long blade. I used a utility knife like this, where the blade can be extended out quite long:
And I need to sleep now. To be continued...
It will be a while before I get results for 0-60. I really need some practice launching a manual. I just can't bring myself to practice launching at traffic lights. I just don't want to be "that guy".Originally Posted by Pznivy

Im totally "That Guy", People think I have lost my mind.
GREAT WORK Pickles!
Keep It coming!
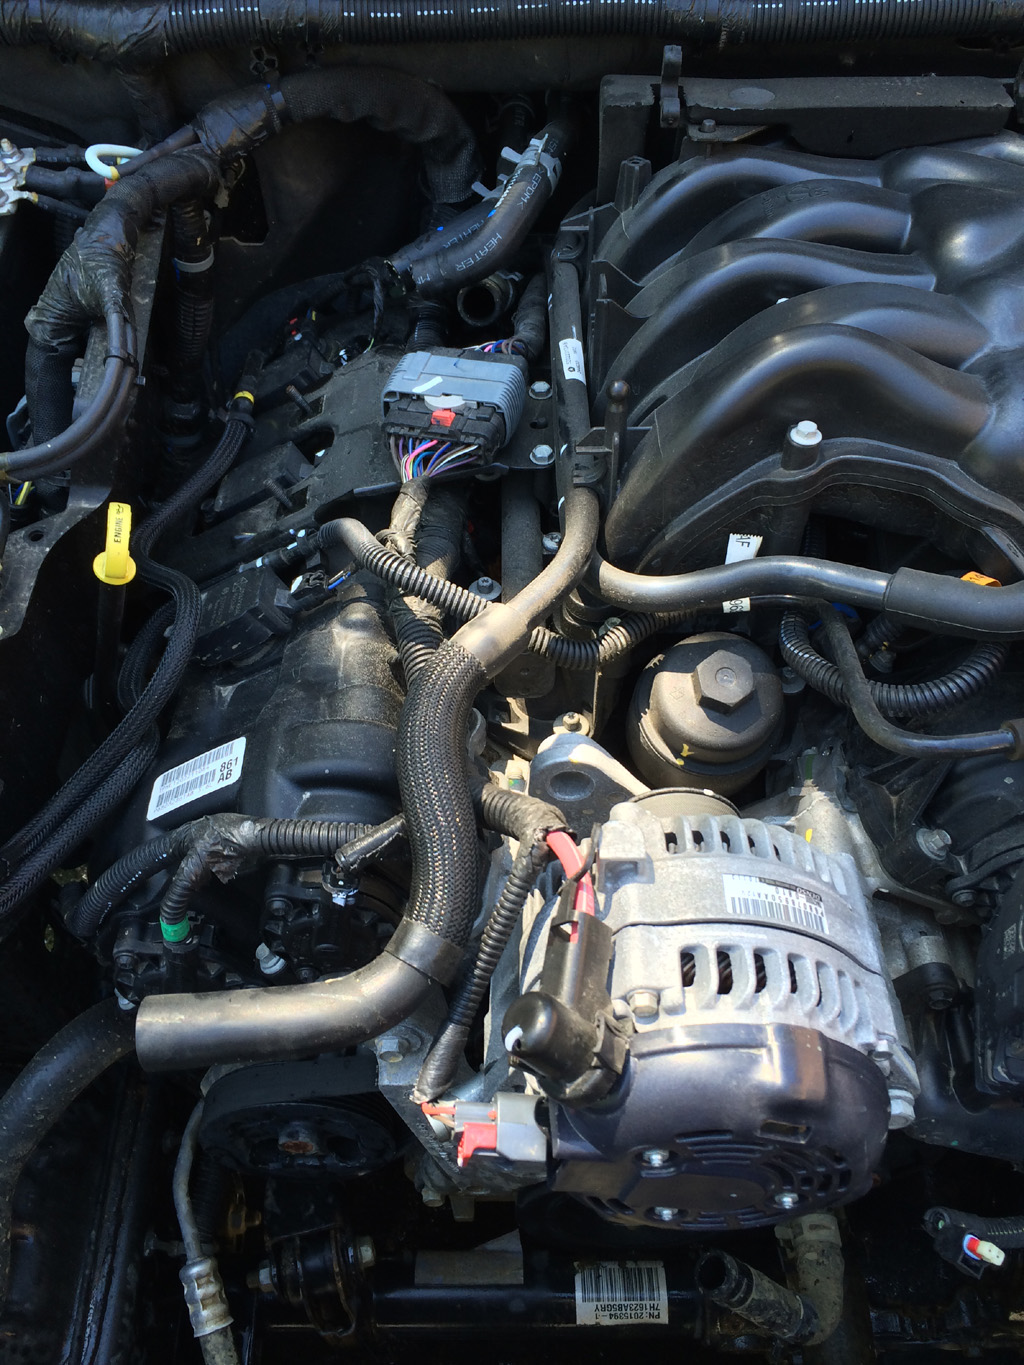
Time to tear apart the intake manifold!
I don't have any great detailed pics for this. Just disconnect everything that is connected to the upper intake manifold:
* A couple nuts mounting it to metal brackets (one bracket on each side).
* Bolts mounting it downward.
* Sensor connectors near the throttle body.
* Hoses/tubes connected near the throttle body.
* Several anchored cable ties that secure wiring to the upper intake manifold. You have to pry the barbed "christmas tree" fastener out of the upper intake.
* Probably a few things I forgot about already.
Once you think everything is disconnected, try removing it and discover that you missed a difficult to see/reach cable tie anchor way in the back! Or maybe that was on the lower intake manifold... I can't remember.
Removing it is a job where a second pair of hands is very useful. There are metal brackets in the way that just need to be flexed away a bit while the upper intake manifold is rotated and angled appropriately to make its exit.
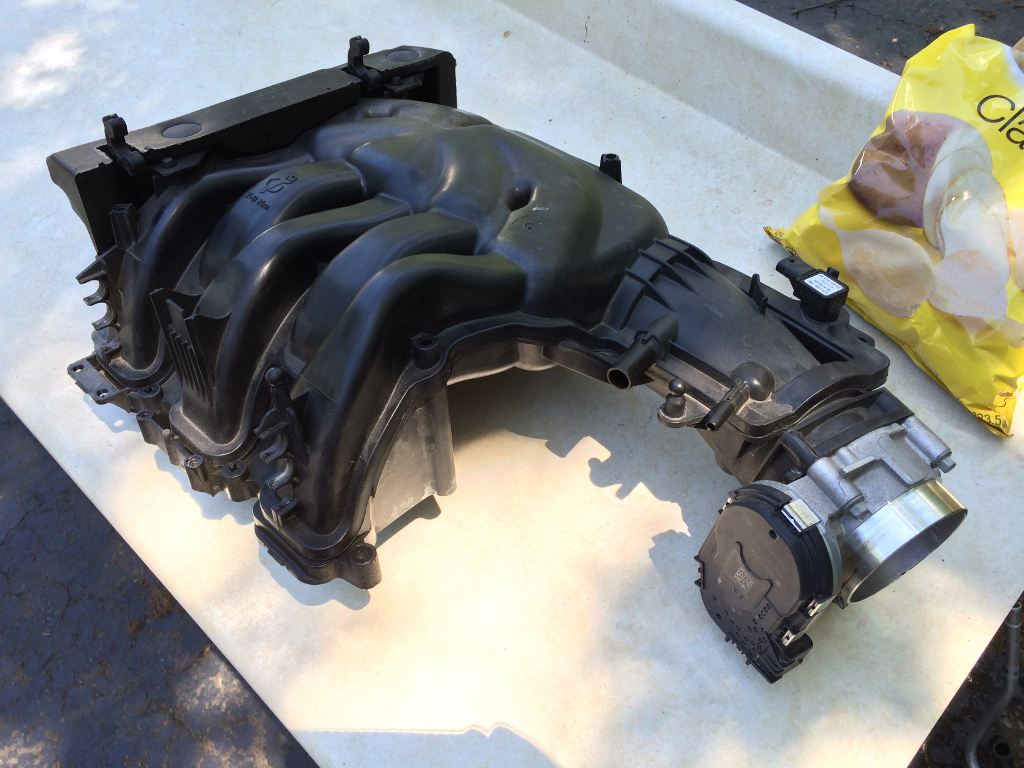
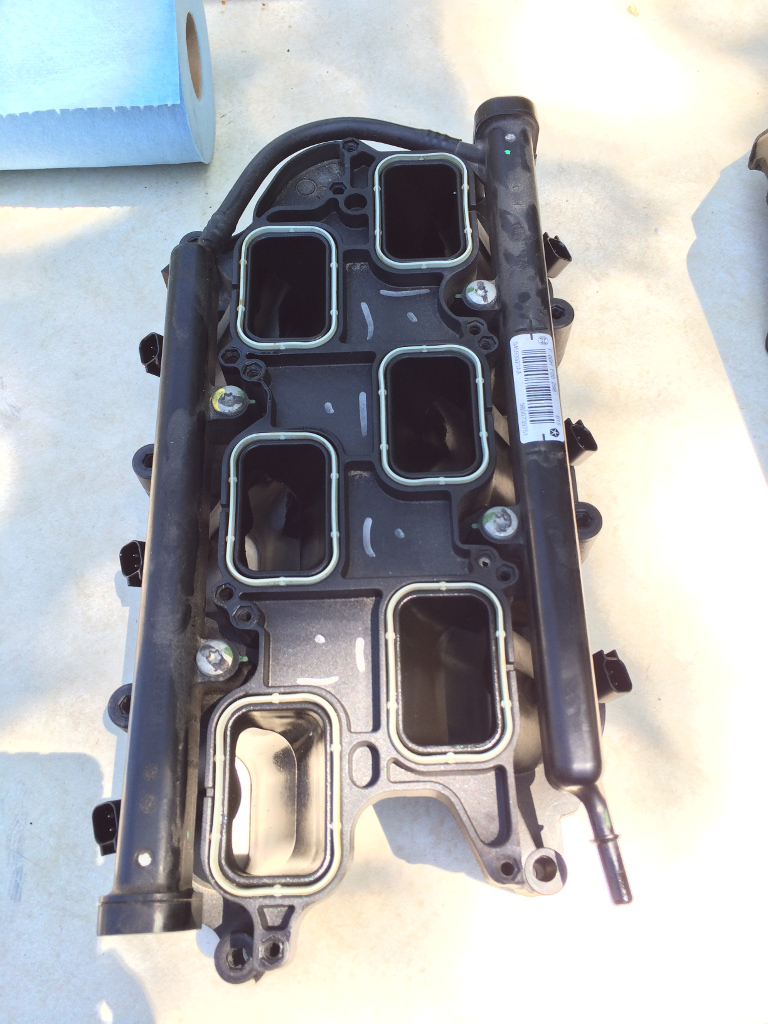
There's the lower intake manifold. Time for it to come out.
First thing I would do if I did it again is remove those 6 gray o-rings! You don't want fuel to get on them, or else they could deform and become unusable. Gently pry them out with a flat blade screwdriver (there's a small access spot in the o-ring seat wall to get the blade in there). Put them aside in a safe spot.
Again, disconnect everything:
* Bolts holding it down.
* Cable tie anchors.
* Fuel injector wiring connectors.
* Fuel line.
Disconnecting the fuel line is fun. Hopefully the engine hasn't been running in quite a while now so that there's been a chance for the fuel rail to depressurize. Instructions also say to open the gas cap to vent any pressure. Be ready for fuel to come out, potentially forcefully. Wrapping a rag around the area just before you pull the fuel line off can block any forceful spray from going too far. Eye protection would be a good idea just in case.
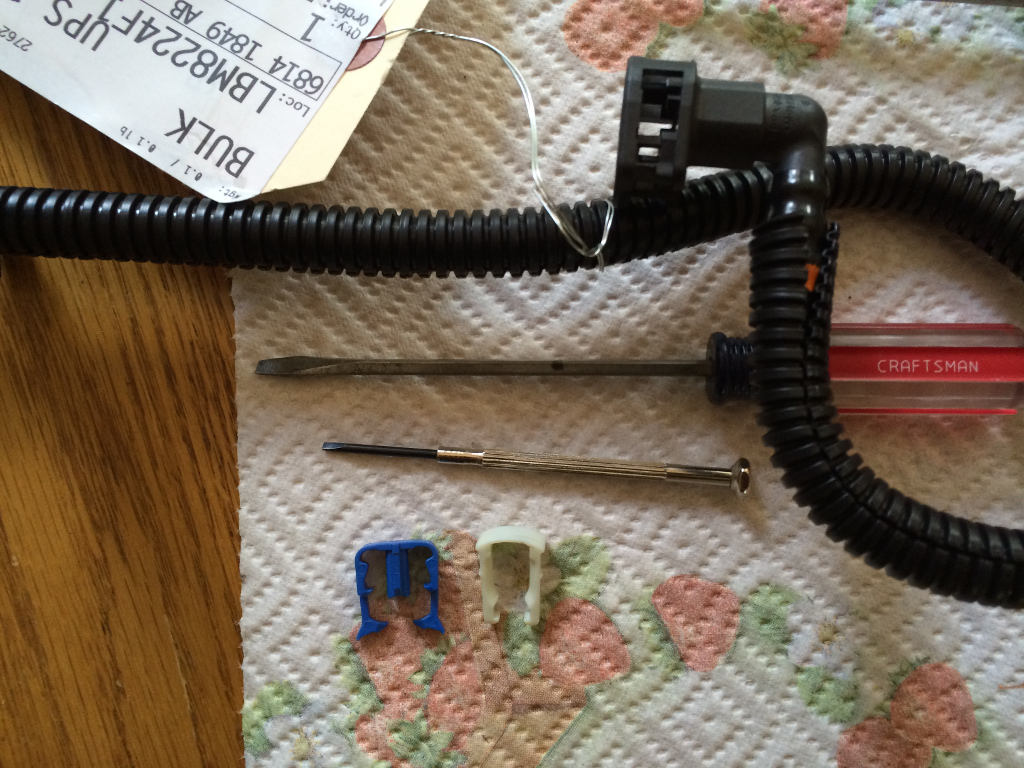
Unfortunately, I can't really give any good tips on how to actually disconnect the fuel line. It has two plastic clips that hold it on, and I managed to break both of them. So be more careful than me. I had to run to the dealer to get a new fuel line (just to get the clips out of it), which was out of stock in the entire state. I was able to special order from an out-of-state warehouse and pay an extra $12 to have it over-nighted.
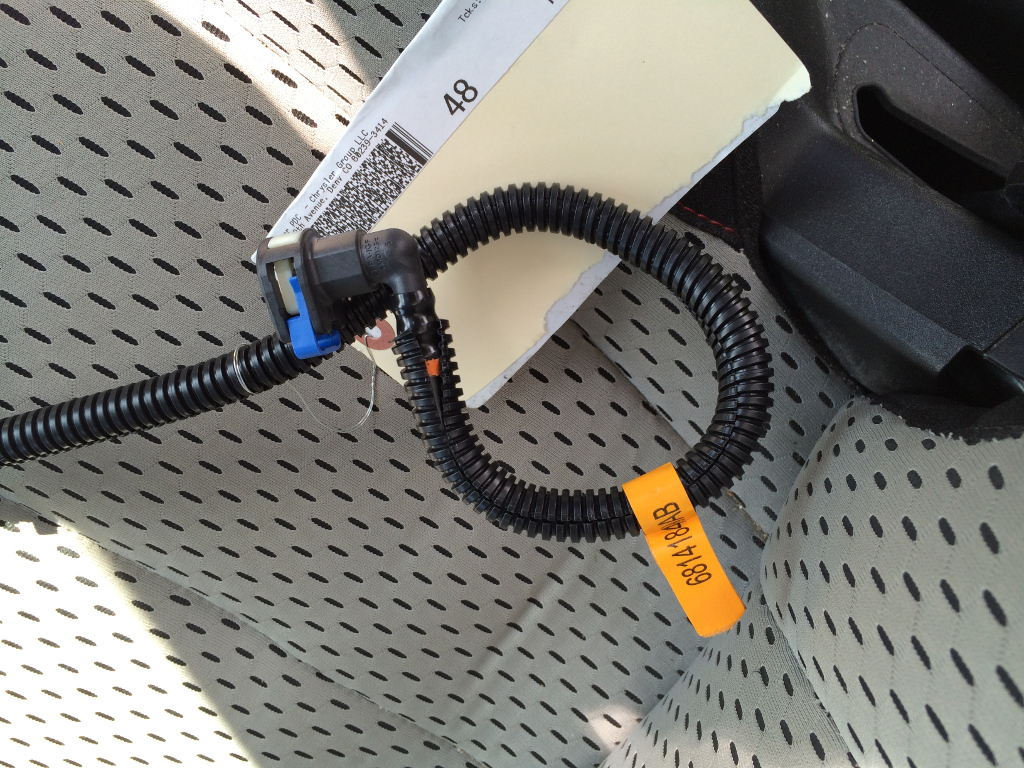
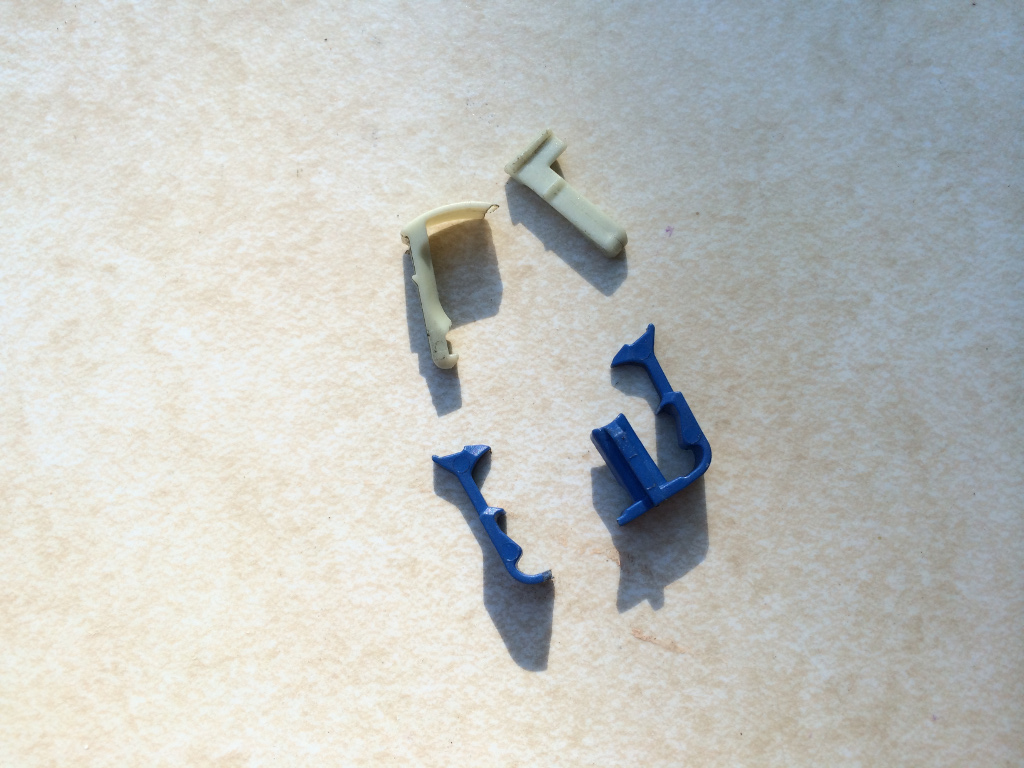
On the new fuel hose, you can see that the blue clip is sticking out. That's the "safety" clip. The white clip inside the connector is the main clip. You can easily press the fuel line onto the fuel rail in this configuration, then you pop the blue safety clip in to really secure it. Hopefully someone else can provide tips on properly REMOVING the fuel line. I know it at least involves gently prying the blue safety clip back out of the connector, probably from the upper/middle part... NOT by trying to spread its "legs"! I'm not sure if the line can be pulled off with the white clip in place or not.
New clips very carefully extracted from the new fuel line. Re-installing the fuel line with new clips later was easy!
Here's the old broken clips:
Once everything is disconnected and you've cleaned up any spilled fuel, it lifts right out. Keep the opening of the fuel rail pointed upward as you lift it out to avoid spilling more fuel. There's another set of o-rings on the bottom that should be removed right away to avoid fuel contact.
You can try pre-emptively pouring fuel out of the fuel rail, but it drains VERY slowly. Maybe if you could prop it up somewhere and just let it drip out for a while. I gave up on trying to drain it and just planned on making a mess when I removed the fuel rail later.
Once the lower intake manifold is out, it's a good idea to cover the intake ports with something like masking tape to prevent crap from falling in as you continue working on things:
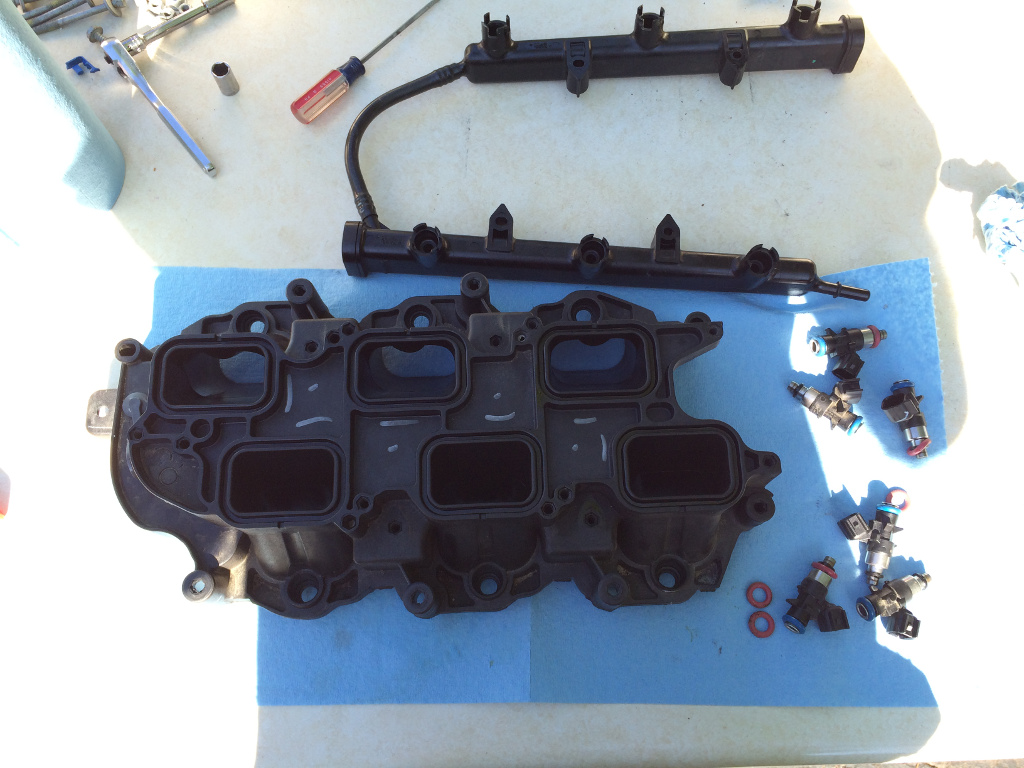
The official instructions have you set the lower intake manifold aside and move onto other things, but I went a bit out of order and finished the job with the intake manifold first (doesn't really matter which order it's done in). The stock fuel injectors need to be replaced with the supplied high-flow fuel injectors.
The fuel rail is mounted to the lower intake manifold by a couple torx screws. Sorry, I forgot to take note of what size torx. I just have a set of torx driver bits. Remove the screws, then gently work the fuel rail off, pulling up on alternating ends to slowly work it out. Some of the fuel injectors will come out with the fuel rail, others will stay stuck in the lower intake. Assume that you'll spill some more fuel too.
Gently pull all the fuel injectors out of whatever they are stuck in. Some of the injector o-rings might even stay behind and need to be pried out gently with a small flat-blade screwdriver.
Now it's a good idea to thoroughly clean the lower intake manifold. The important parts to clean are:
* Injector o-ring seats.
* Intake port o-ring seats (on both top and bottom).
* Intake paths themselves.
Also clean the injector o-ring seats in the fuel rail. And while you're in a cleaning mood, clean all those intake manifold o-rings that you removed earlier. Don't re-install them yet, though. Just keep them somewhere safe.
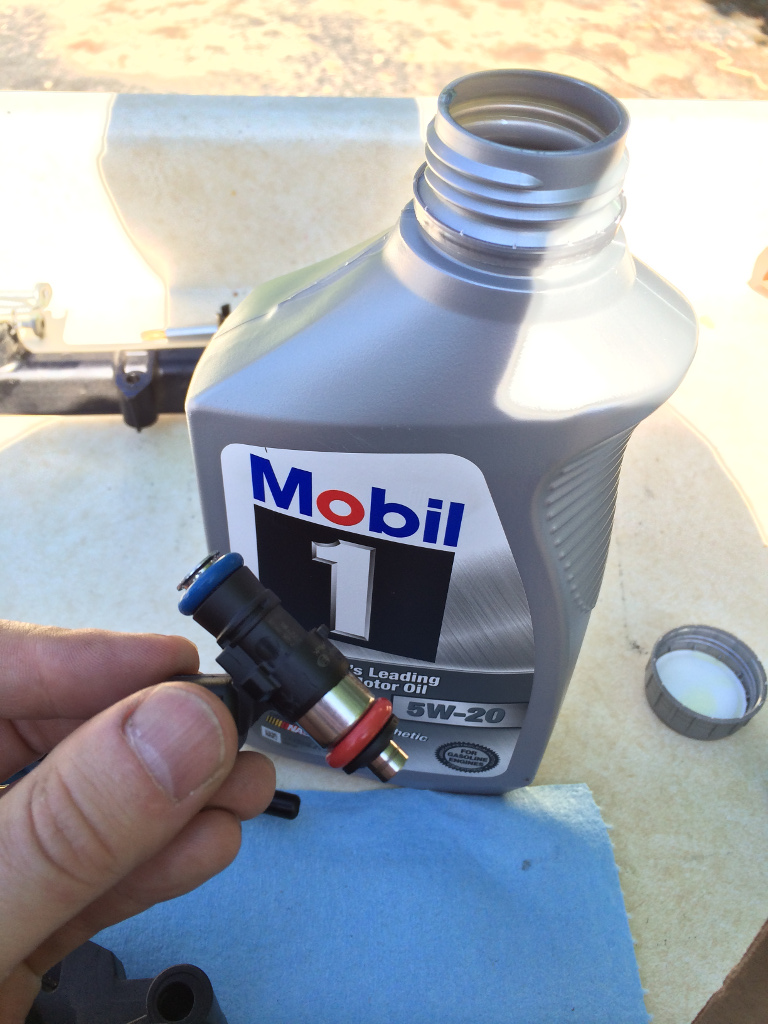
Now that everything is so fresh and so clean, clean... time to install the new fuel injectors.
But first, you need to lube the o-rings on the new injectors. Just a light coat of engine oil:
Gently press all the injectors into the fuel rail in the same orientation that the old injectors were. Slots in the fuel rail should help prevent you from putting them in completely wrong. Then gently press the fuel rail with the fuel injectors into the lower intake manifold and re-install the torx screws. I didn't take a picture of the lower intake manifold re-assembled with the new injectors. It looks just like when I removed it from the engine, but cleaner.
Now set the lower intake manifold (and the upper manifold, while you're at it) aside in a safe clean spot. There's more work to be done before you re-install them!
Click here if you want to skip to the next post that continues with installation: http://jeeplab.com/showthread.php?13...ull=1#post2092
Last edited by UselessPickles; 07-03-2014 at 11:47 PM.
Pickles - great write-up so far. I'm loving it. For someone who self proclaims that they aren't that mechanically inclined, you seem pretty mechanically inclined. I also appreciate your pointing out things that broke to warn others of the potential pitfalls. Hopefully your and Jeeplab's eventual install can help towards a Prodigy instruction manual version 2.0 with improvements.
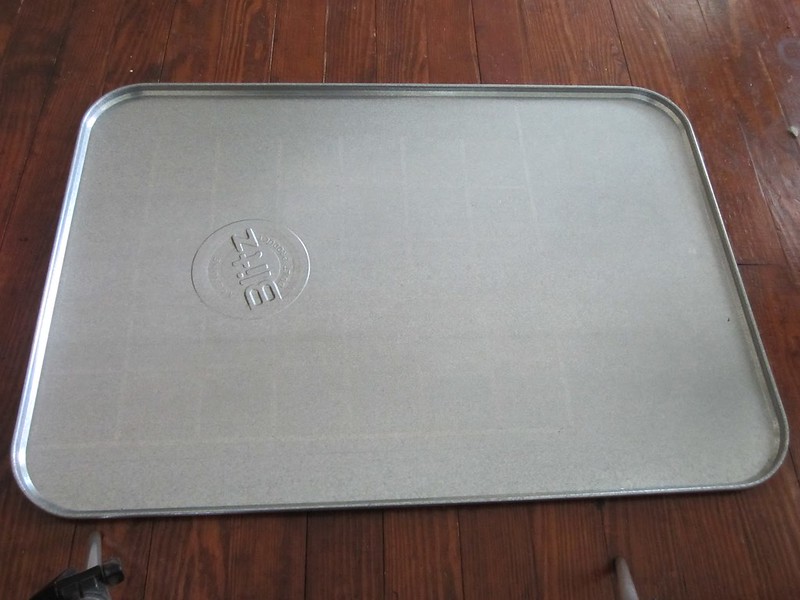
Might I recommend a very cheap item that I think would help fill out your garage and tool set? Its an automotive drip tray - cheap really ($10-$20) and can store behind/under anything. Great to work over when you're dealing with drippy things and cleans up easily after. Also helps contain small parts that may fall.
 Posting Permissions


Connect With Us