


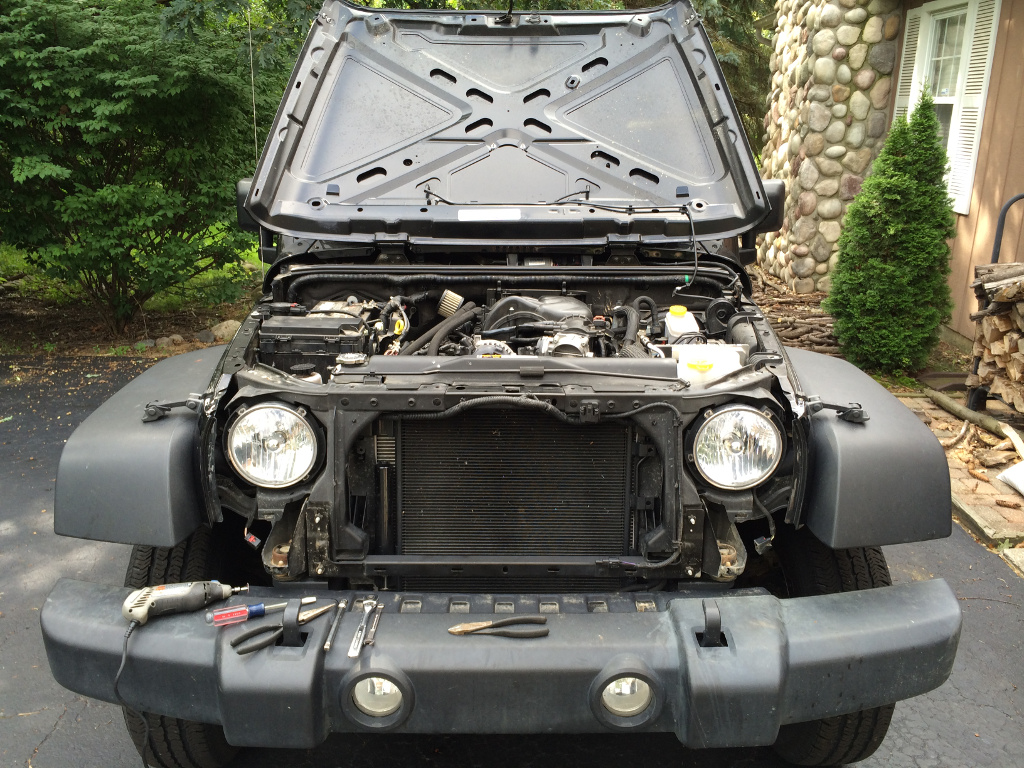
Ok... time to finish documenting the stage 2 upgrade. I left off with a new power steering hose installed and a new/relocated coolant reservoir.
I didn't get a lot of pictures, but most of it is quite straightforward.
* Remove the wastegate, replace the hose fitting with a different type of hose fitting, and replace the spring with a new spring. Two people are required to replace the spring, because you need to have someone hold the wastegate together while you remove all the bolts holding it together. Same for putting it back together with the new spring. Re-install the wastegate.
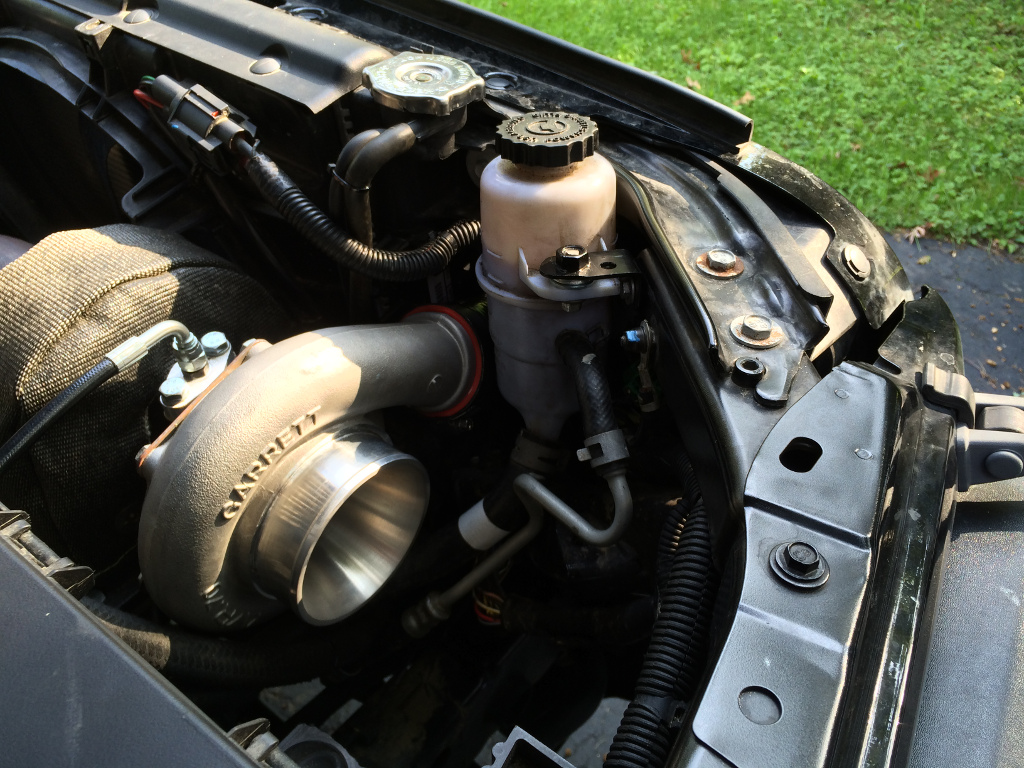
* Remove the hose fitting from the turbo compressor outlet and replace it with a plug (a grub screw). I used plumber's thread tape here to prevent leaks. This step is required because the wastegate will no longer be getting its boost source from the turbo compressor outlet (details later).
The intercooler install is the fun part. Remove the grill. If I have to tell you how to remove it, then you shouldn't be attempting the turbo install
I used blocks of scrap wood under the intercooler to help get it into its proper position before marking and drilling holes to mount it. It's a tight fit, but it does not require any trimming of the grill.
NOTE: I have a manual transmission, so I didn't have to deal with replacing the transmission cooler. That's an extra step (and cost) for anyone with an automatic trans.
Here it is propped up by a block of wood for a test fit:
And some details of the final result to give you an idea of how it should be positioned...
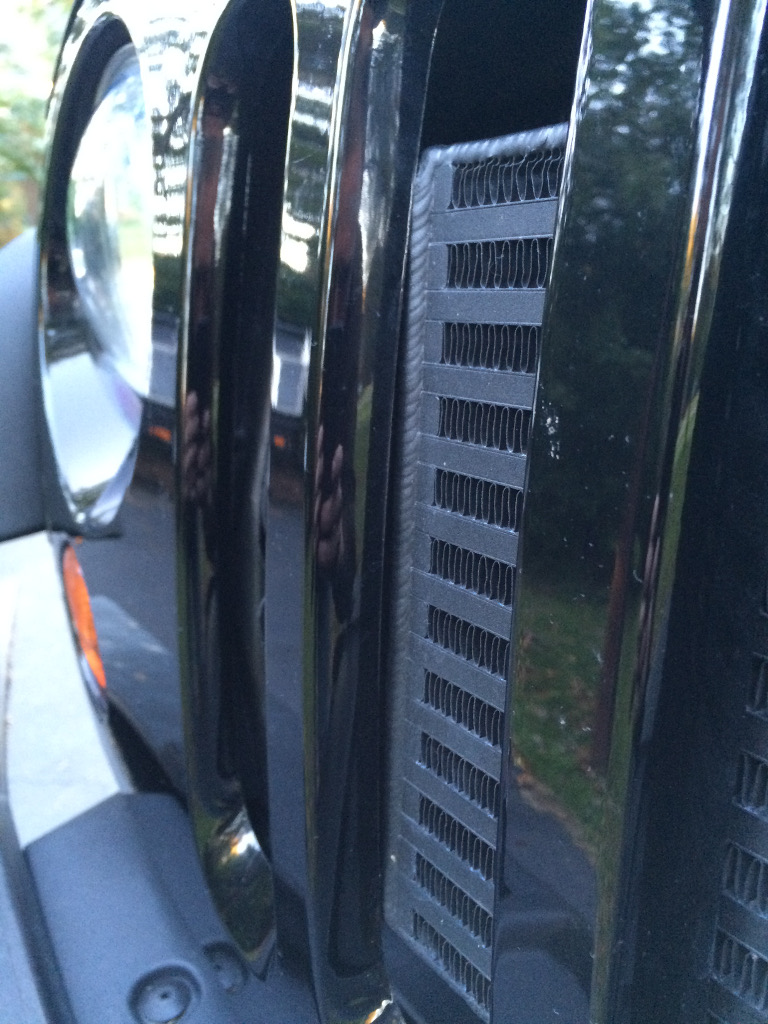
It touches the back side of the grill in a few spots:
This plastic here needs to be trimmed to make room for the intercooler hose (both sides). A Dremel with a routing bit was used for the rough cut, then a sanding drum bit to clean it up:
The instructions say to just completely remove the thin flexible air deflector material in this area, but I chose to try to keep as much of it as possible. An xacto knife cut through that material quite easily.
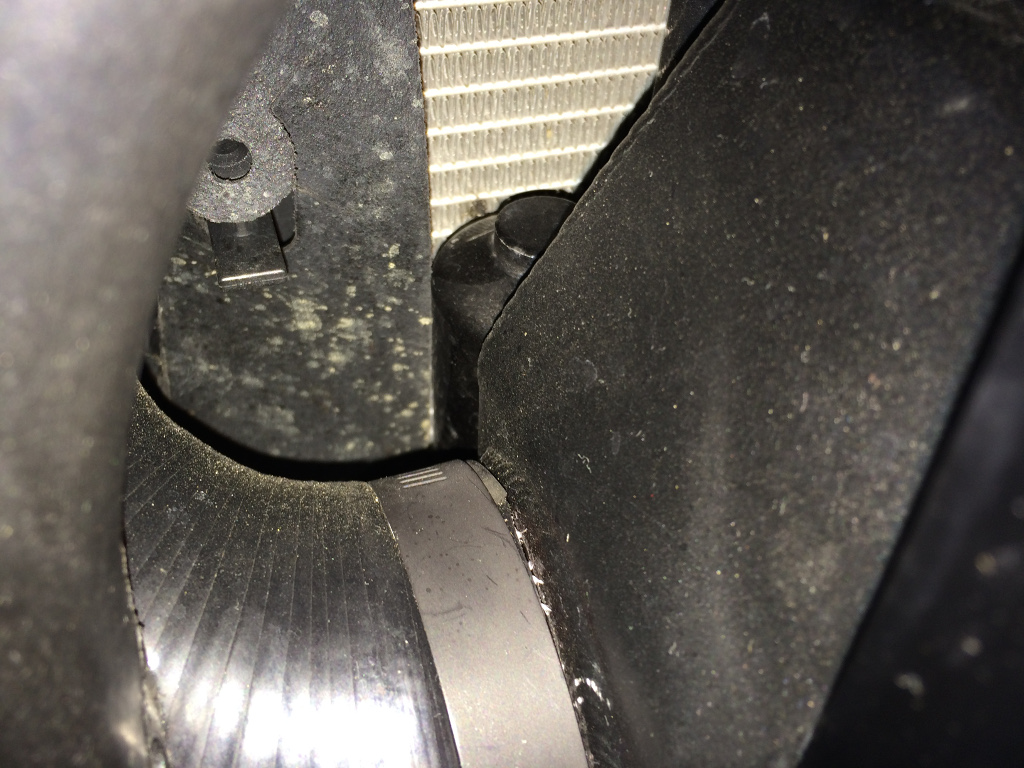
And here you can see that cylinder that's part of the A/C condenser, right behind the intercooler:
I had to gently, but firmly, push on that cylinder to bend it slightly backward at its base. This reduced the amount of pressure it applies on the intercooler against the grill.
Once you have test fitted the intercooler and trimmed the plastic, I got the best results from mounting the intercooler before hooking up any hoses. This is how I got my intercooler perfectly centered. Instructions have you connect the intercooler to the turbo before mounting it, but I found this made it extremely difficult to get the intercooler lined up with the holes to get the bolts in, and impossible to get it centered.
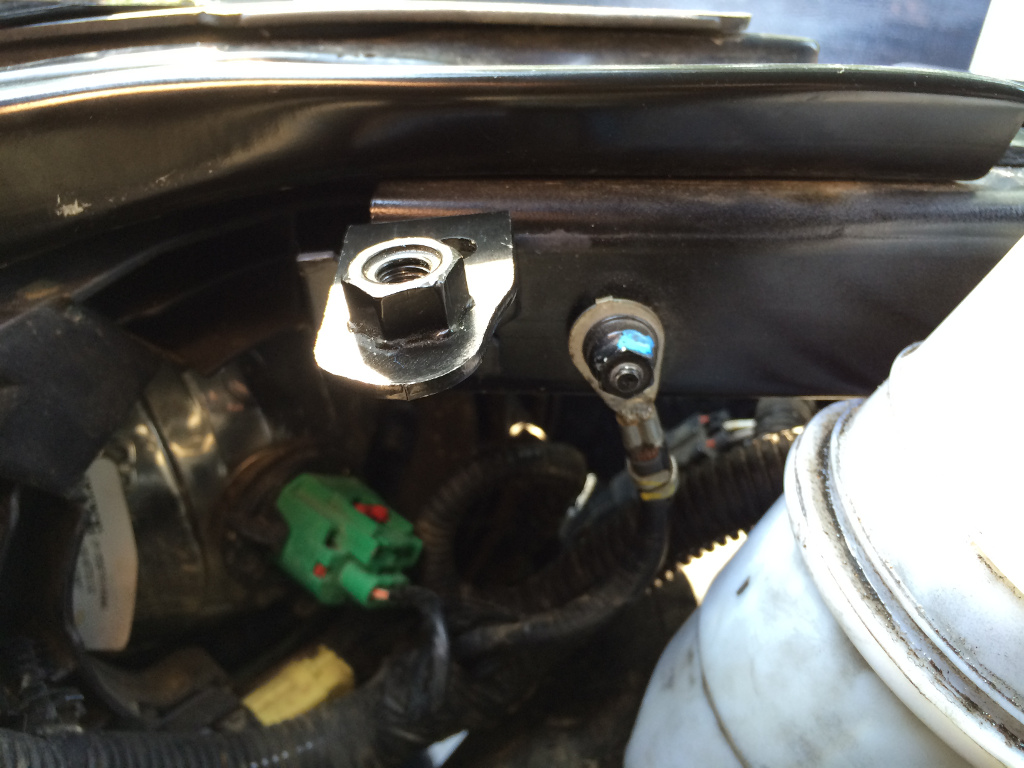
To connect the turbo to the intercooler, you need to slightly loosen the compressor housing bolts so that the compressor housing can rotate. The power steering reservoir also needs to be un-mounted so that it can be moved out of the way. It's easiest of you also remove the air filter so you have more room to push the power steering reservoir aside.
The silicone elbow is fed in from the engine bay through to the grill area, and connected to the intercooler. It's tight in there, so be prepared for some frustration. A small amount of dish soap helps the silicon hose slip onto the intercooler. Then the compressor housing is rotated forward, popping the silicon elbow onto it. The end result looks like this:
Before you get too far ahead, double-check the clearance between the intercooler hose and the trimmed plastic. I had to remove the silicone elbow and do some more trimming.
The power steering reservoir doesn't quite fit in its original location. You need to remove the mounting bracket and trim a couple locating tabs off of it (Dremel cut-off wheel worked well) so that the mounting bracket can be rotated upside down and slightly tilted like this:
And a plastic rib on the reservoir's mounting tab needs to be trimmed a bit so that it can be mounted under the bracket instead of on top:
I added a few washers to drop the reservoir a bit lower. Without the washers, the hood would contact the reservoir's cap when closed.
The other side of the intercooler is a bit easier to hook up. A silicone elbow is similarly fed through from inside the engine bay to connect to the intercooler. Then the charge pipe (with BOV) is connected to that elbow. There's two A/C lines that will need to be gently bent to make room for the pipe:
The last silicone elbow connecting to the throttle body is different from that of the stage 1 kit, so you'll have to transfer the IAT sensor over to the new part (if upgrading from stage 1).
All that remains is to hook up the vacuum/boost lines to the wastegate and BOV. I'll save that for another day.


 Reply With Quote
Connect With Us