


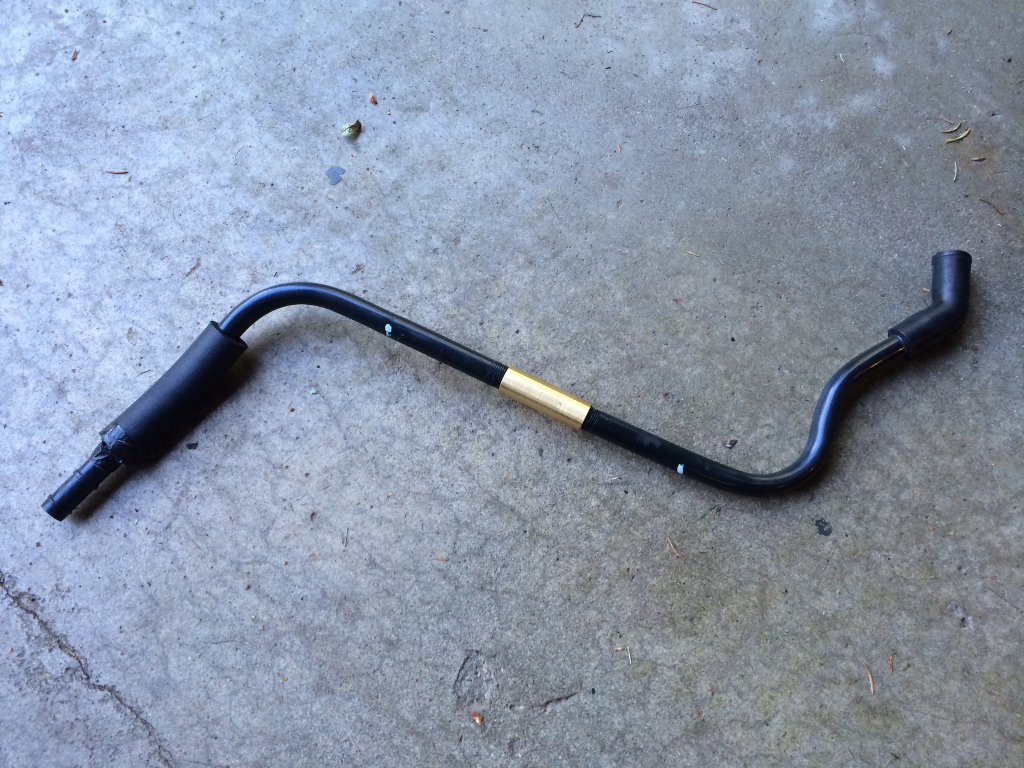
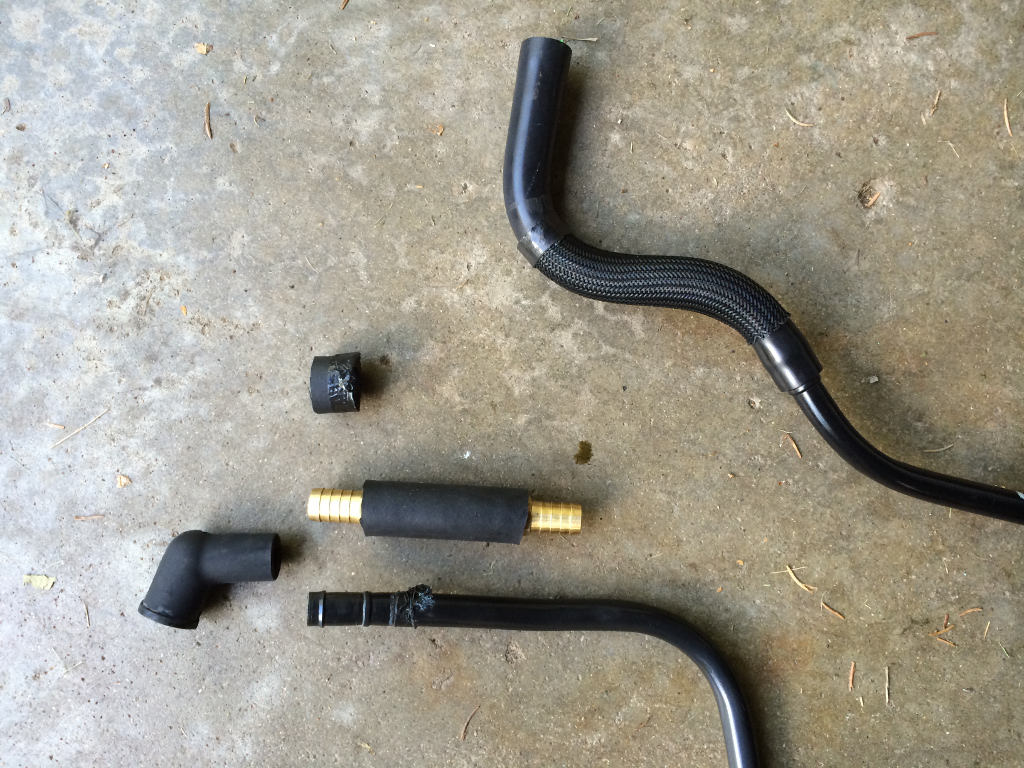
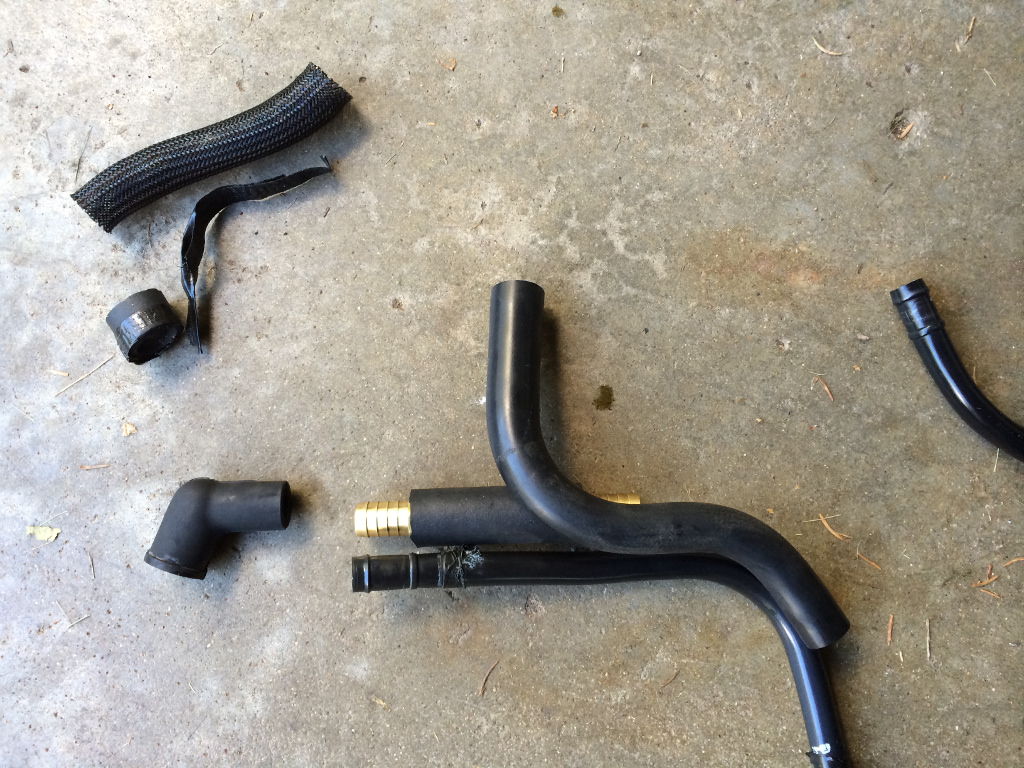
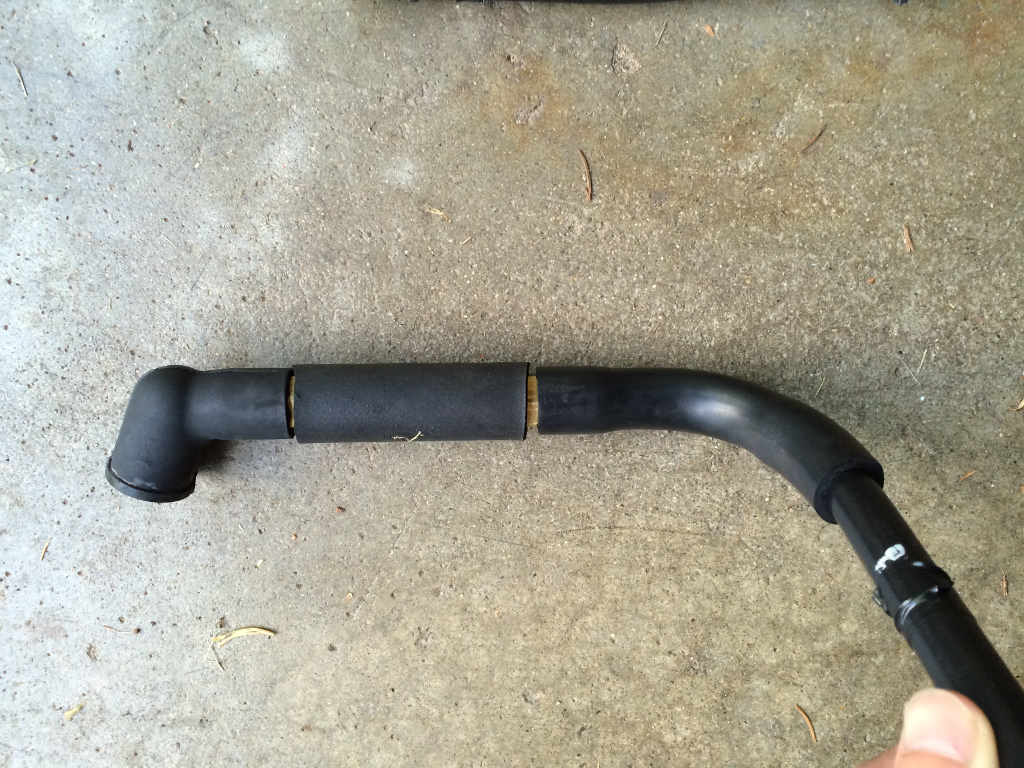
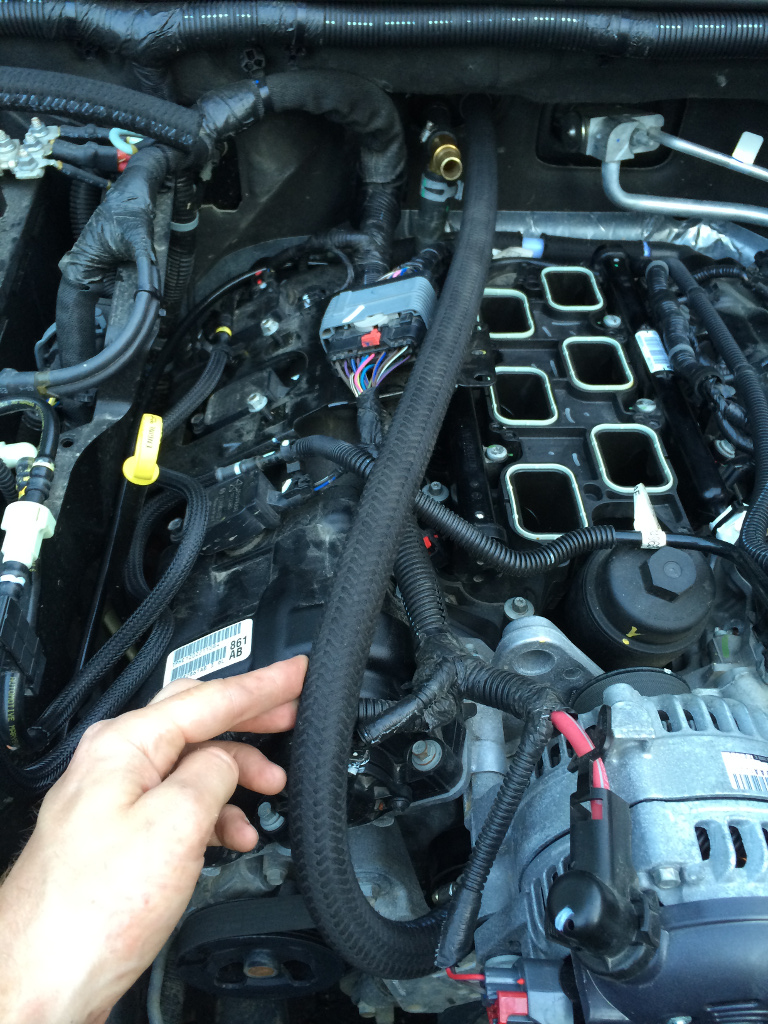
Crap... need to revisit this. The check valve rapidly opens and closes at idle, which vibrates through the plastic pipe and through the intake manifold (because it's clipped into the manifold). It makes an annoying buzzing noise that can be heard from inside the jeep. I think I need to come up with something that uses a portion of the provided rubber hoses to isolate the vibration.Originally Posted by UselessPickles


 Reply With Quote


Connect With Us