


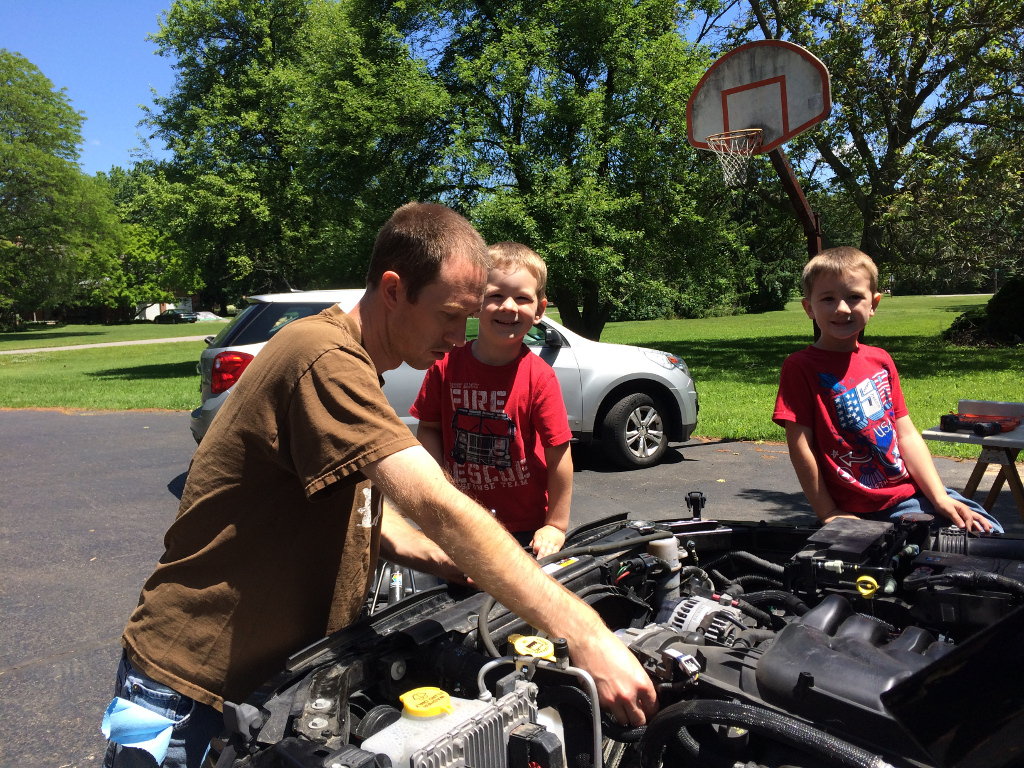
Time to tear apart the intake manifold!
I don't have any great detailed pics for this. Just disconnect everything that is connected to the upper intake manifold:
* A couple nuts mounting it to metal brackets (one bracket on each side).
* Bolts mounting it downward.
* Sensor connectors near the throttle body.
* Hoses/tubes connected near the throttle body.
* Several anchored cable ties that secure wiring to the upper intake manifold. You have to pry the barbed "christmas tree" fastener out of the upper intake.
* Probably a few things I forgot about already.
Once you think everything is disconnected, try removing it and discover that you missed a difficult to see/reach cable tie anchor way in the back! Or maybe that was on the lower intake manifold... I can't remember.
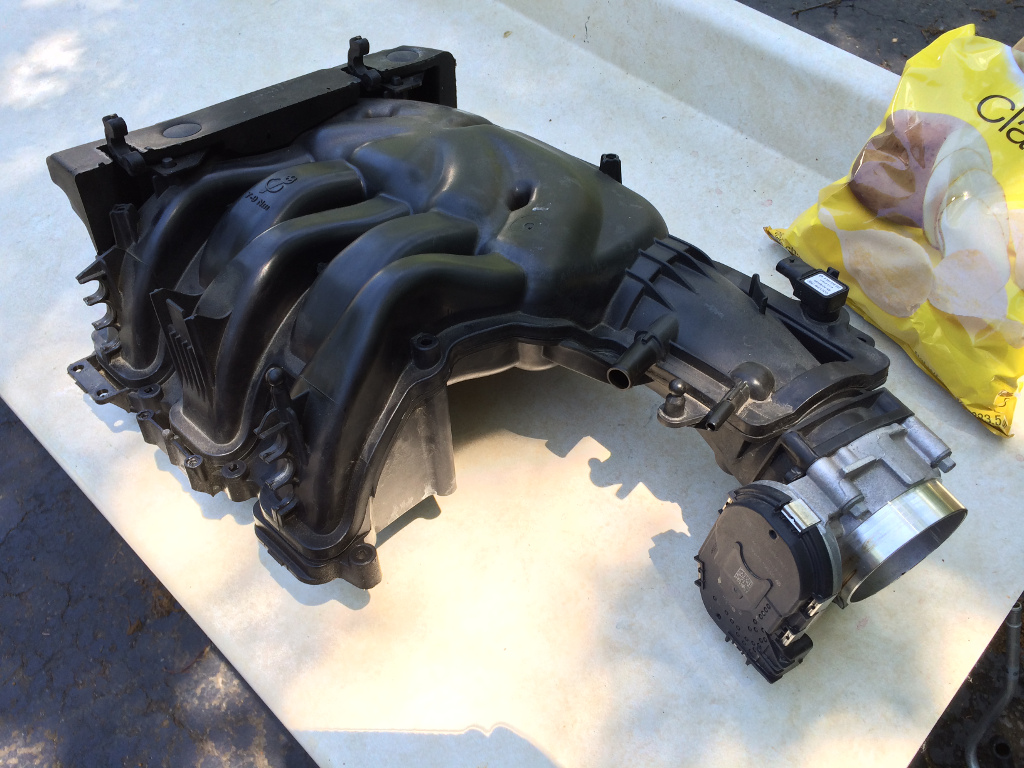
Removing it is a job where a second pair of hands is very useful. There are metal brackets in the way that just need to be flexed away a bit while the upper intake manifold is rotated and angled appropriately to make its exit.
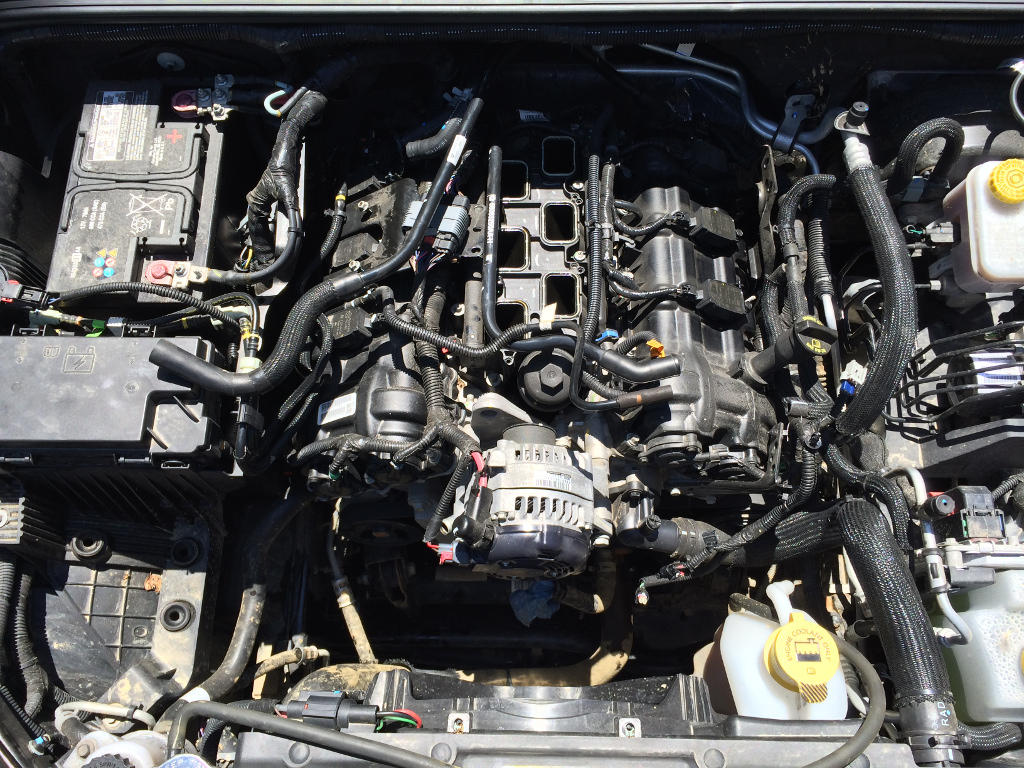
There's the lower intake manifold. Time for it to come out.
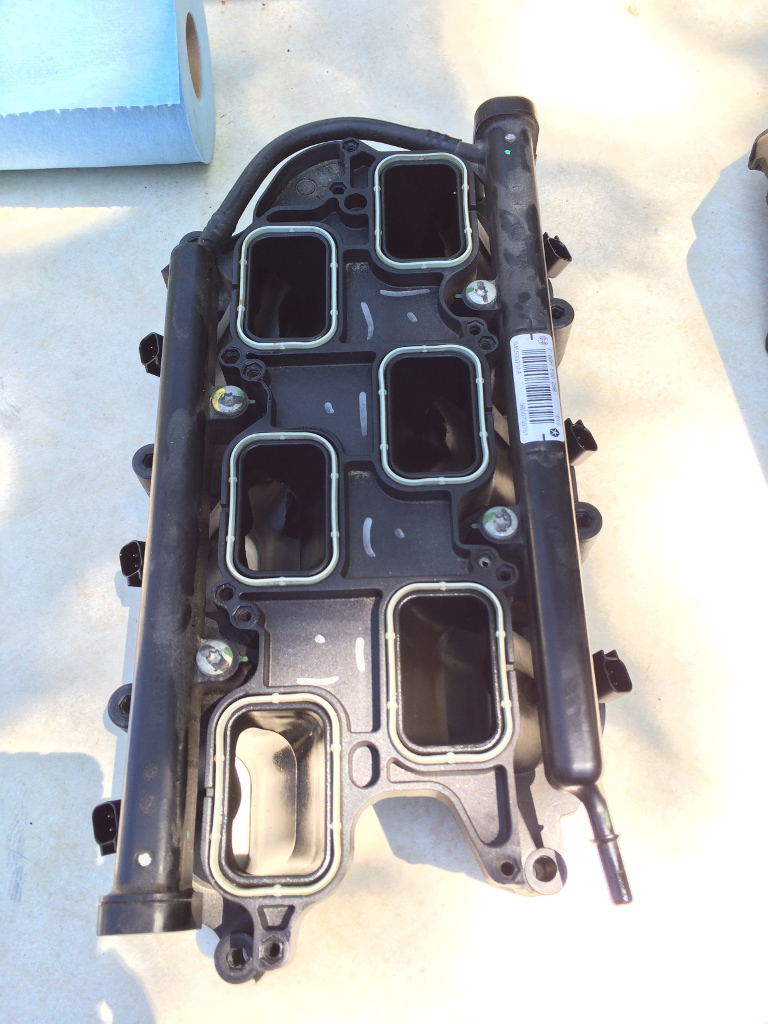
First thing I would do if I did it again is remove those 6 gray o-rings! You don't want fuel to get on them, or else they could deform and become unusable. Gently pry them out with a flat blade screwdriver (there's a small access spot in the o-ring seat wall to get the blade in there). Put them aside in a safe spot.
Again, disconnect everything:
* Bolts holding it down.
* Cable tie anchors.
* Fuel injector wiring connectors.
* Fuel line.
Disconnecting the fuel line is fun. Hopefully the engine hasn't been running in quite a while now so that there's been a chance for the fuel rail to depressurize. Instructions also say to open the gas cap to vent any pressure. Be ready for fuel to come out, potentially forcefully. Wrapping a rag around the area just before you pull the fuel line off can block any forceful spray from going too far. Eye protection would be a good idea just in case.
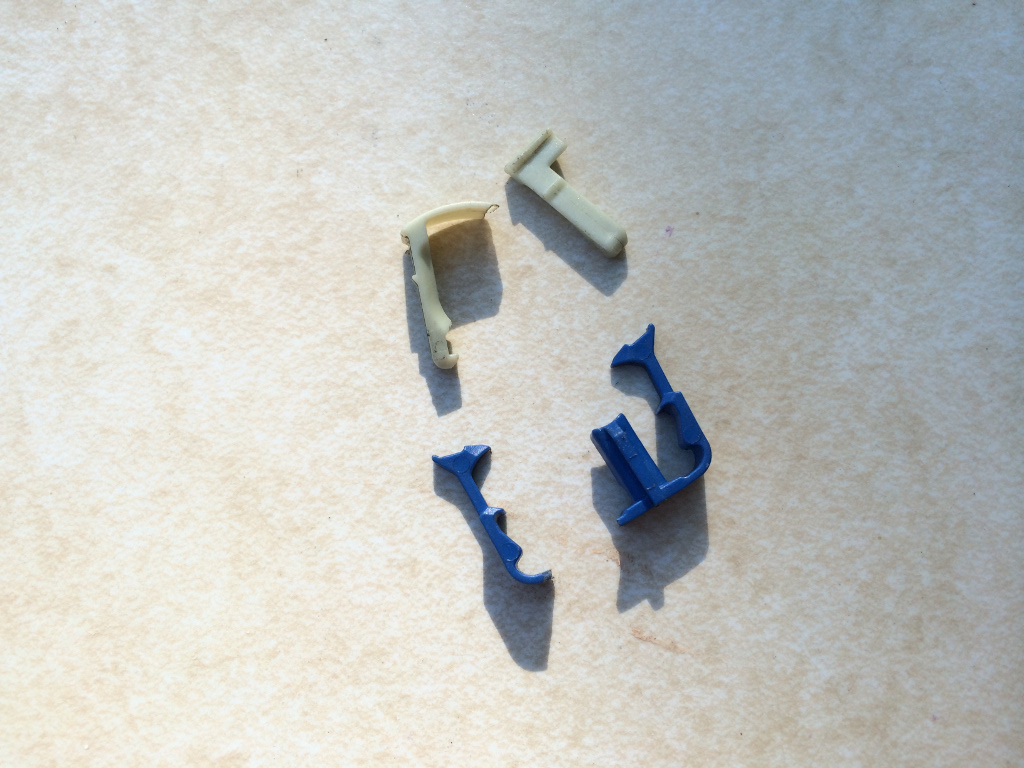
Unfortunately, I can't really give any good tips on how to actually disconnect the fuel line. It has two plastic clips that hold it on, and I managed to break both of them. So be more careful than me. I had to run to the dealer to get a new fuel line (just to get the clips out of it), which was out of stock in the entire state. I was able to special order from an out-of-state warehouse and pay an extra $12 to have it over-nighted.
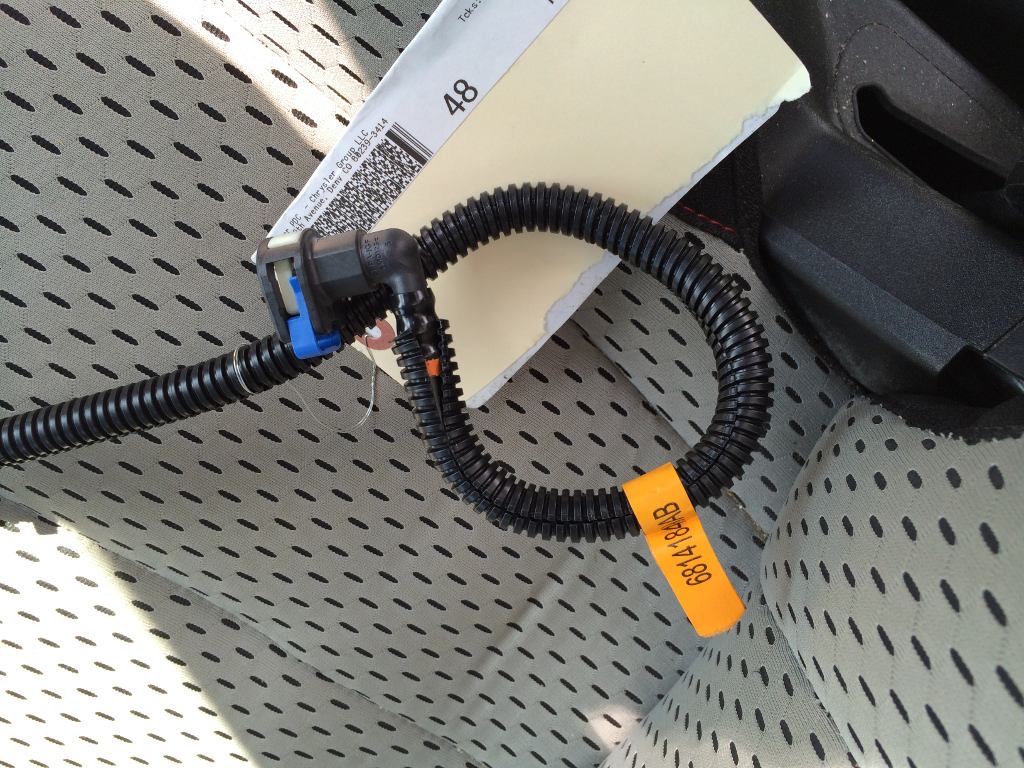
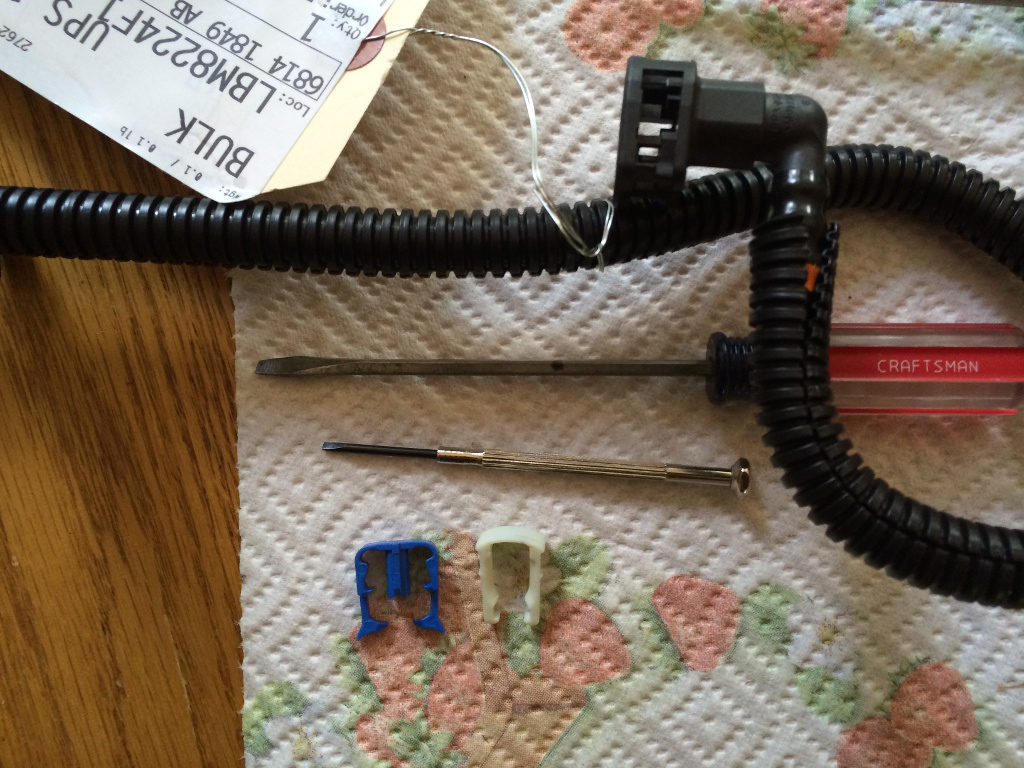
On the new fuel hose, you can see that the blue clip is sticking out. That's the "safety" clip. The white clip inside the connector is the main clip. You can easily press the fuel line onto the fuel rail in this configuration, then you pop the blue safety clip in to really secure it. Hopefully someone else can provide tips on properly REMOVING the fuel line. I know it at least involves gently prying the blue safety clip back out of the connector, probably from the upper/middle part... NOT by trying to spread its "legs"! I'm not sure if the line can be pulled off with the white clip in place or not.
New clips very carefully extracted from the new fuel line. Re-installing the fuel line with new clips later was easy!
Here's the old broken clips:
Once everything is disconnected and you've cleaned up any spilled fuel, it lifts right out. Keep the opening of the fuel rail pointed upward as you lift it out to avoid spilling more fuel. There's another set of o-rings on the bottom that should be removed right away to avoid fuel contact.
You can try pre-emptively pouring fuel out of the fuel rail, but it drains VERY slowly. Maybe if you could prop it up somewhere and just let it drip out for a while. I gave up on trying to drain it and just planned on making a mess when I removed the fuel rail later.
Once the lower intake manifold is out, it's a good idea to cover the intake ports with something like masking tape to prevent crap from falling in as you continue working on things:
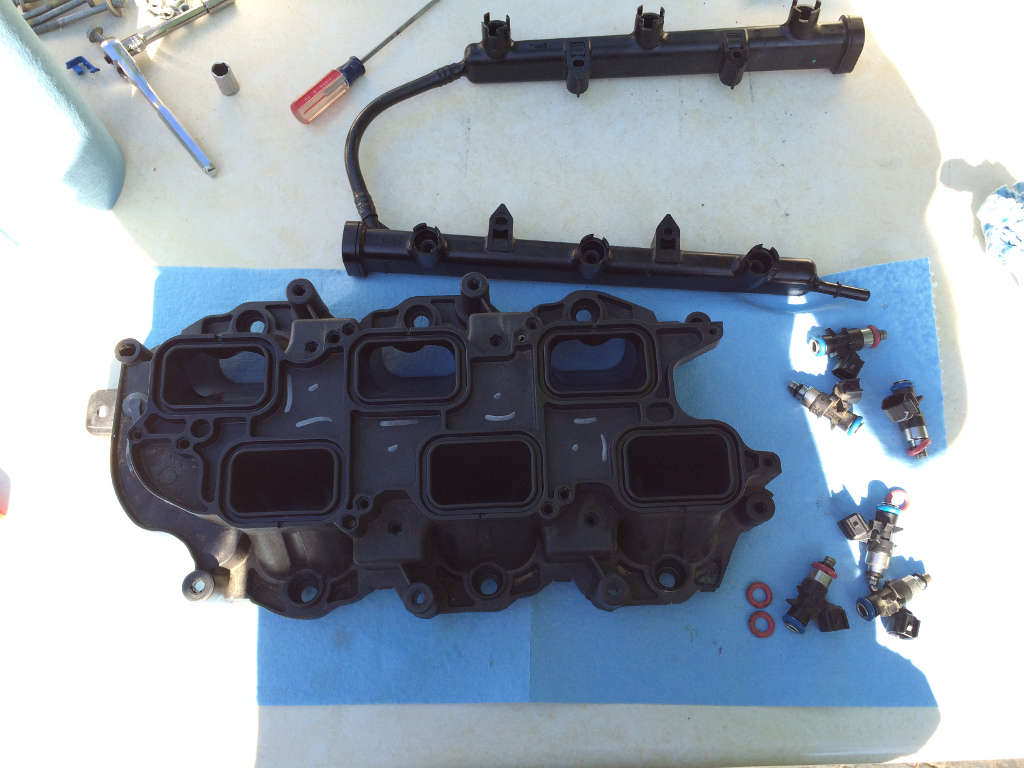
The official instructions have you set the lower intake manifold aside and move onto other things, but I went a bit out of order and finished the job with the intake manifold first (doesn't really matter which order it's done in). The stock fuel injectors need to be replaced with the supplied high-flow fuel injectors.
The fuel rail is mounted to the lower intake manifold by a couple torx screws. Sorry, I forgot to take note of what size torx. I just have a set of torx driver bits. Remove the screws, then gently work the fuel rail off, pulling up on alternating ends to slowly work it out. Some of the fuel injectors will come out with the fuel rail, others will stay stuck in the lower intake. Assume that you'll spill some more fuel too.
Gently pull all the fuel injectors out of whatever they are stuck in. Some of the injector o-rings might even stay behind and need to be pried out gently with a small flat-blade screwdriver.
Now it's a good idea to thoroughly clean the lower intake manifold. The important parts to clean are:
* Injector o-ring seats.
* Intake port o-ring seats (on both top and bottom).
* Intake paths themselves.
Also clean the injector o-ring seats in the fuel rail. And while you're in a cleaning mood, clean all those intake manifold o-rings that you removed earlier. Don't re-install them yet, though. Just keep them somewhere safe.
Now that everything is so fresh and so clean, clean... time to install the new fuel injectors.
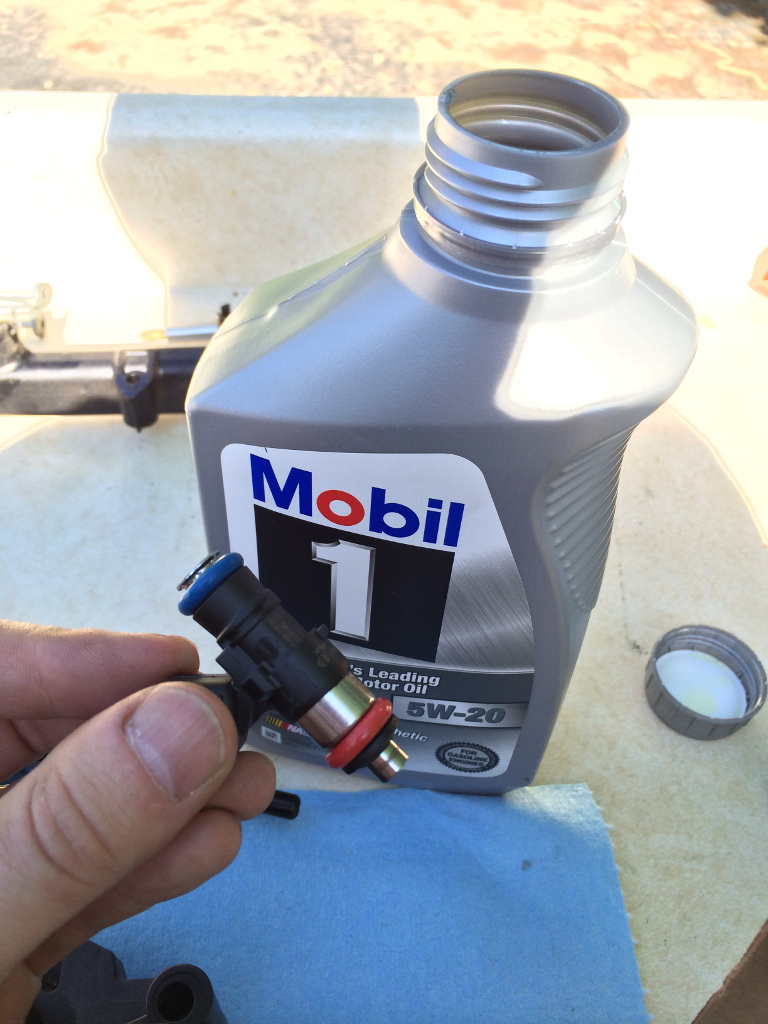
But first, you need to lube the o-rings on the new injectors. Just a light coat of engine oil:
Gently press all the injectors into the fuel rail in the same orientation that the old injectors were. Slots in the fuel rail should help prevent you from putting them in completely wrong. Then gently press the fuel rail with the fuel injectors into the lower intake manifold and re-install the torx screws. I didn't take a picture of the lower intake manifold re-assembled with the new injectors. It looks just like when I removed it from the engine, but cleaner.
Now set the lower intake manifold (and the upper manifold, while you're at it) aside in a safe clean spot. There's more work to be done before you re-install them!
Click here if you want to skip to the next post that continues with installation: http://jeeplab.com/showthread.php?13...ull=1#post2092



 Reply With Quote

Connect With Us