Close

Page 2 of 2 FirstFirst 12
Results 11 to 17 of 17
  1. #11
    Senior Member
    Join Date
    Feb 2014
    Location
    MD/PA line
    Posts
    425
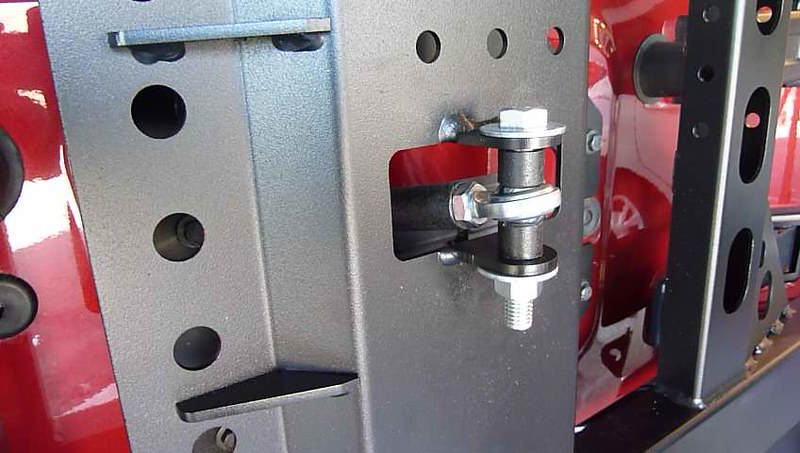
    When you swing your carrier closed, you’ll pull the door-link through. This is how it will be set up if you don’t have a body lift. If you have a body lift, you’ll have to move spacers around. Honestly.. I don’t know a single JK owner with a body lift.


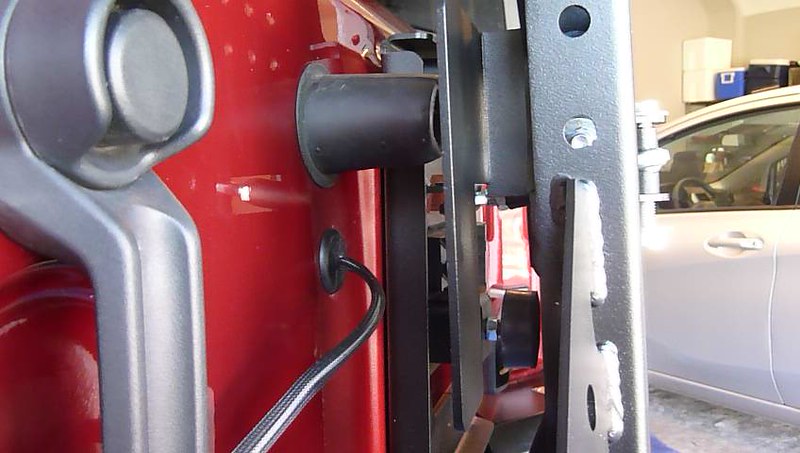
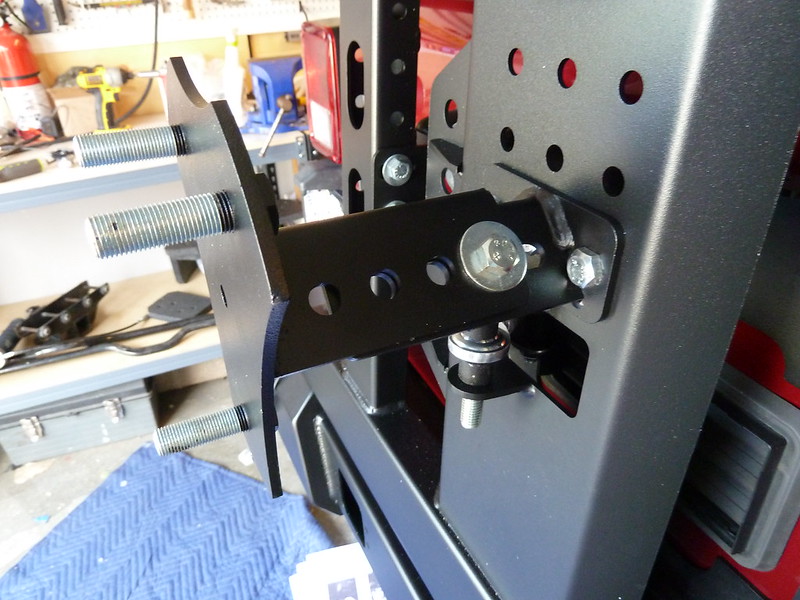
    The tire carrier relies on tension against the body, stops and the OEM plugs here. Again, the swing arm leans a bit towards the body. The L-shaped bars you attach to the swing arm offer a lot of adjustability on how and where you create tension.


    I had to trim the passenger side bumper a bit, as it was not impacting laterally to compress the stop, but rather pushing it to the side. Taking off a quarter inch had it working as intended in no-time.


    The LOD setup offers a ton of adjustability for your spare for most any tire size up to 40” and for varying widths. Here is where mine ended up after some ruler guesswork.


  2. #12
    Senior Member
    Join Date
    Feb 2014
    Location
    MD/PA line
    Posts
    425
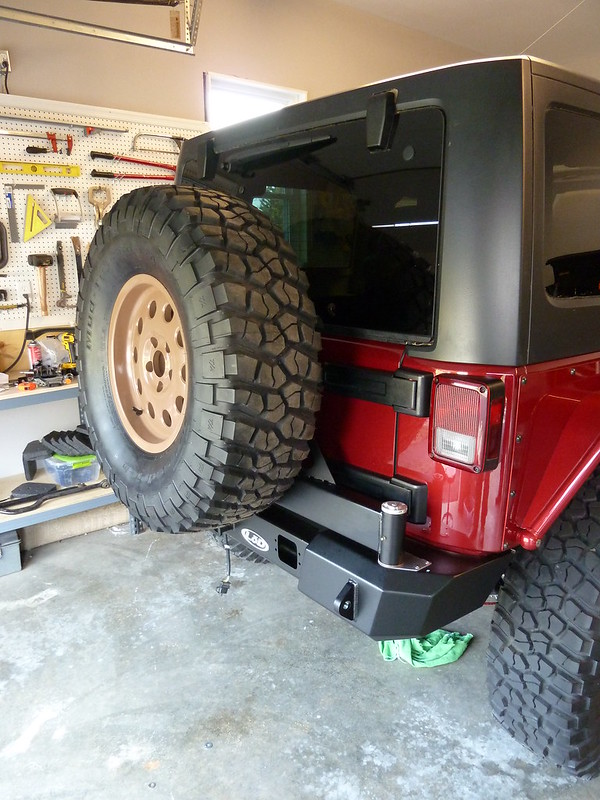
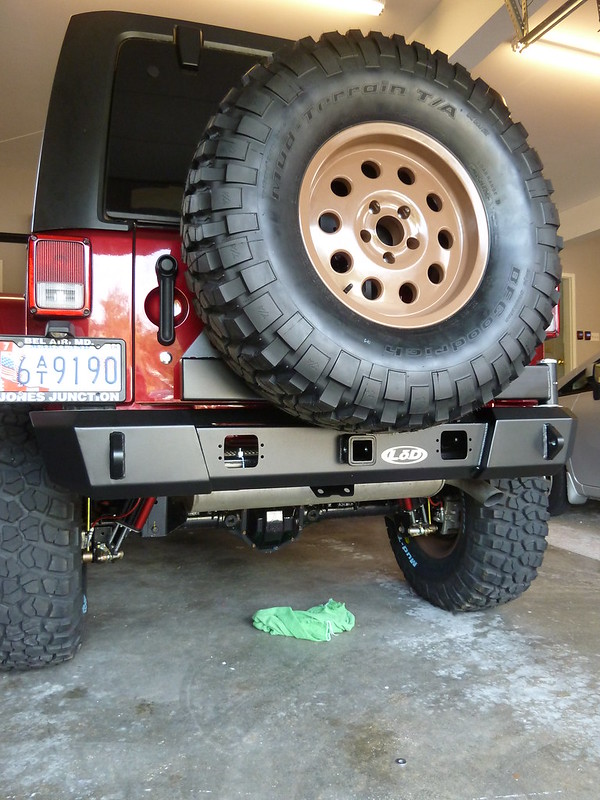
    Hefting a 105 pound tire/wheel combo up onto the spare tire mount is very exciting. I'm glad I have a fairly “light” wheel and tire combo for a 37”!


    Again – I went back and reinstalled the lights – so they’re not in this picture. It was just a matter of pulling the spare, lifting the swing arm, and unbolting 10 bolts. A little pain, but not too bad.

  3. #13
    you putting rigid's in those holes?

  4. #14
    Senior Member
    Join Date
    Feb 2014
    Location
    MD/PA line
    Posts
    425
    Quote Originally Posted by Rexx19 View Post
    you putting rigid's in those holes?
    Yes -they are already in. I took the bumper right off after that picture and installed them. You can see them a couple posts earlier. I did the posts in the order you SHOULD do the install, not the order that, in my impatience for the UPS man, made me do a bunch of re-work! I just wanted the bumper on. A couple days later I did the rigids. They are bright and great with my S-pod. Running the wire was easier than expected. I basically ran it along the top of the frame rail area and cleanly into the cab.

    Click image for larger version. 

Name:	2014-04-11 19.01.23.jpg 
Views:	22 
Size:	93.2 KB 
ID:	851

  5. #15
    Quote Originally Posted by Snarf77 View Post
    Yes -they are already in. I took the bumper right off after that picture and installed them. You can see them a couple posts earlier. I did the posts in the order you SHOULD do the install, not the order that, in my impatience for the UPS man, made me do a bunch of re-work! I just wanted the bumper on. A couple days later I did the rigids. They are bright and great with my S-pod. Running the wire was easier than expected. I basically ran it along the top of the frame rail area and cleanly into the cab.

    Click image for larger version. 

Name:	2014-04-11 19.01.23.jpg 
Views:	22 
Size:	93.2 KB 
ID:	851
    They look good, are they connected to your reverse lights?

  6. #16
    Senior Member
    Join Date
    Feb 2014
    Location
    MD/PA line
    Posts
    425
    Quote Originally Posted by Yoinkers View Post
    They look good, are they connected to your reverse lights?
    Nah - just to my last S-pod switch. If I need that much light backing up, its no trouble to reach up and hit the S-Pod Toggle for daylight.

  7. #17
    Take a step back and show us the whole picture.

Posting Permissions

  • You may not post new threads
  • You may not post replies
  • You may not post attachments
  • You may not edit your posts
  •