Close

Page 24 of 45 FirstFirst ... 14222324252634 ... LastLast
Results 231 to 240 of 449
  1. #231
    Quote Originally Posted by UselessPickles View Post
    A few possibilities I can think of:

    1) You don't have the latest tune improvements that Jessee and I have been testing. We received the updates as custom tunes. I don't know if the improvements have been pushed out to the official Prodigy tune on Diablosport's servers yet. The latest tune has big improvements in the lower RPM area.
    I made my data log and ill send it to PD for the custom tune. My only concern for low RPM because i do extreme dune bashing with almost 15 jeepers in the desert. We climp high dunes. We sometimes race down to top as you posted couple pages back. This requires initial pick up (i am not talking about turbo spool but the vehicle tends to cut till it reach 2300 then it respond then the turbo spool.

    Regarding 3rd gear. Once i put full throttle while in seconds and shift to 3rd till it reach 4500 here where i feel the loos of power then it come back at 5800 ( the turbo sound different at that stage).

    This Friday i am going to the dunes to try it. Might shoot a video

  2. #232
    I got a nice data log of full throttle boost in 2nd gear today and made a chart from the data:


    Interestingly, I don't even hit 8 psi in 2nd gear. I do hit 8 psi (barely) in 3rd gear. It's normal to not get as much boost in lower gears where engine speed is increasing quickly and the engine is under less load. I think this concept might possibly explain why I'm getting a bit less boost than NOLA and jeepsking: I have a bare-bones 2-door with tiny stock wheels/tires (very light, low rotational inertia of tires/wheels), which would result in less engine load and quicker increases in engine speed as compared to a heavier jeep with bigger tires.


    UPDATE: I had an exhaust leak causing a small loss of boost. Details later in the thread here: http://jeeplab.com/showthread.php?13...ull=1#post3705

    New boost curve:

    Last edited by UselessPickles; 01-10-2015 at 07:10 PM.

  3. #233
    Quote Originally Posted by jeepsking View Post
    We climp high dunes. We sometimes race down to top as you posted couple pages back. This requires initial pick up (i am not talking about turbo spool but the vehicle tends to cut till it reach 2300 then it respond then the turbo spool.
    I confirmed with Prodigy that the new improvements to the tune are not yet available on Diablosport's server. Most of your issues should disappear once you can get the updated tune.

    Also, in deep sand, it's quite fun and relatively safe to rev the engine up and dump the clutch. Tires will initially lose traction for a nice 4WD "burnout", but as they dig down into the sand, they have more surface area contact with the sand and gain traction quickly for a nice launch that doesn't shock the drivetrain as if you did the same on dry pavement.

    Quote Originally Posted by jeepsking View Post
    Regarding 3rd gear. Once i put full throttle while in seconds and shift to 3rd till it reach 4500 here where i feel the loos of power then it come back at 5800 ( the turbo sound different at that stage).
    I don't think I've experienced anything like this. I'd wait to see if this issue goes away with the updated tune before worrying about it.

    Quote Originally Posted by jeepsking View Post
    This Friday i am going to the dunes to try it. Might shoot a video
    Yes! I still have not heard what my turbo and BOV sound like from outside the jeep as it drives by.

  4. #234
    Ok... time to finish documenting the stage 2 upgrade. I left off with a new power steering hose installed and a new/relocated coolant reservoir.

    I didn't get a lot of pictures, but most of it is quite straightforward.

    * Remove the wastegate, replace the hose fitting with a different type of hose fitting, and replace the spring with a new spring. Two people are required to replace the spring, because you need to have someone hold the wastegate together while you remove all the bolts holding it together. Same for putting it back together with the new spring. Re-install the wastegate.

    * Remove the hose fitting from the turbo compressor outlet and replace it with a plug (a grub screw). I used plumber's thread tape here to prevent leaks. This step is required because the wastegate will no longer be getting its boost source from the turbo compressor outlet (details later).


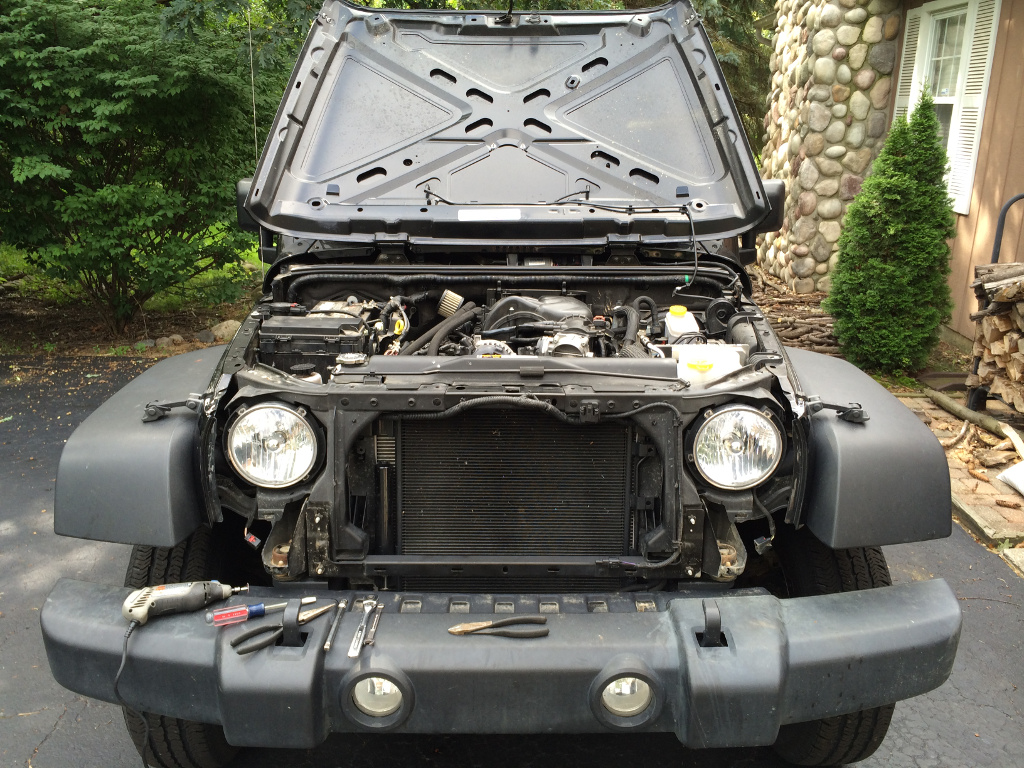
    The intercooler install is the fun part. Remove the grill. If I have to tell you how to remove it, then you shouldn't be attempting the turbo install


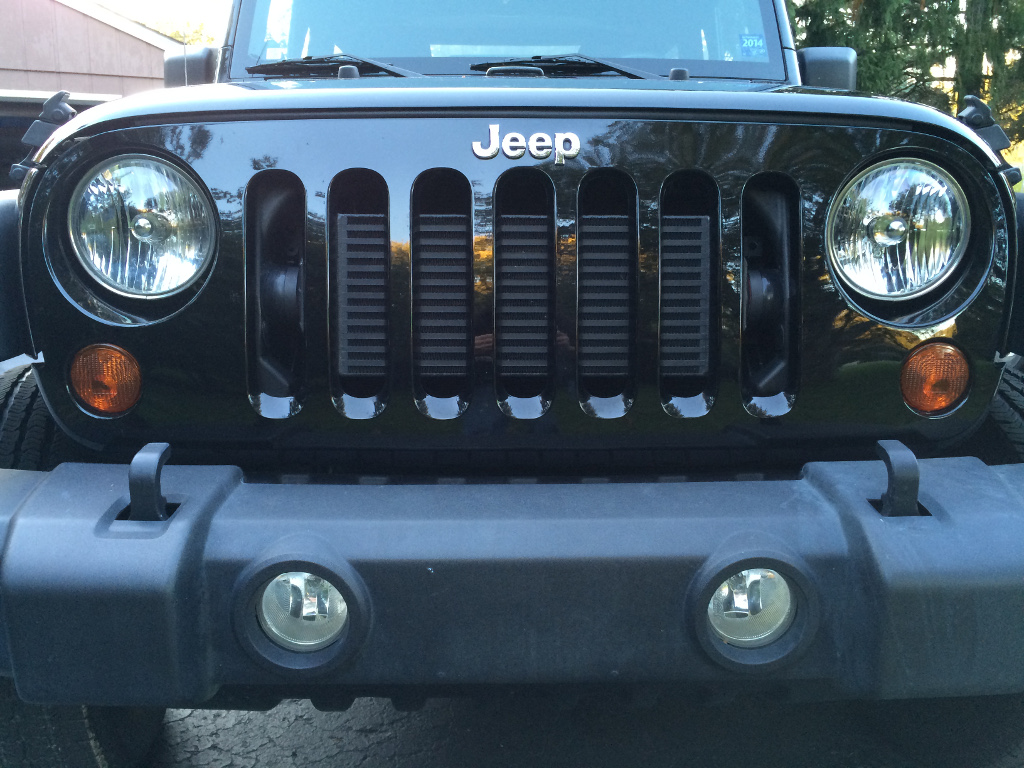
    I used blocks of scrap wood under the intercooler to help get it into its proper position before marking and drilling holes to mount it. It's a tight fit, but it does not require any trimming of the grill.

    NOTE: I have a manual transmission, so I didn't have to deal with replacing the transmission cooler. That's an extra step (and cost) for anyone with an automatic trans.

    Here it is propped up by a block of wood for a test fit:


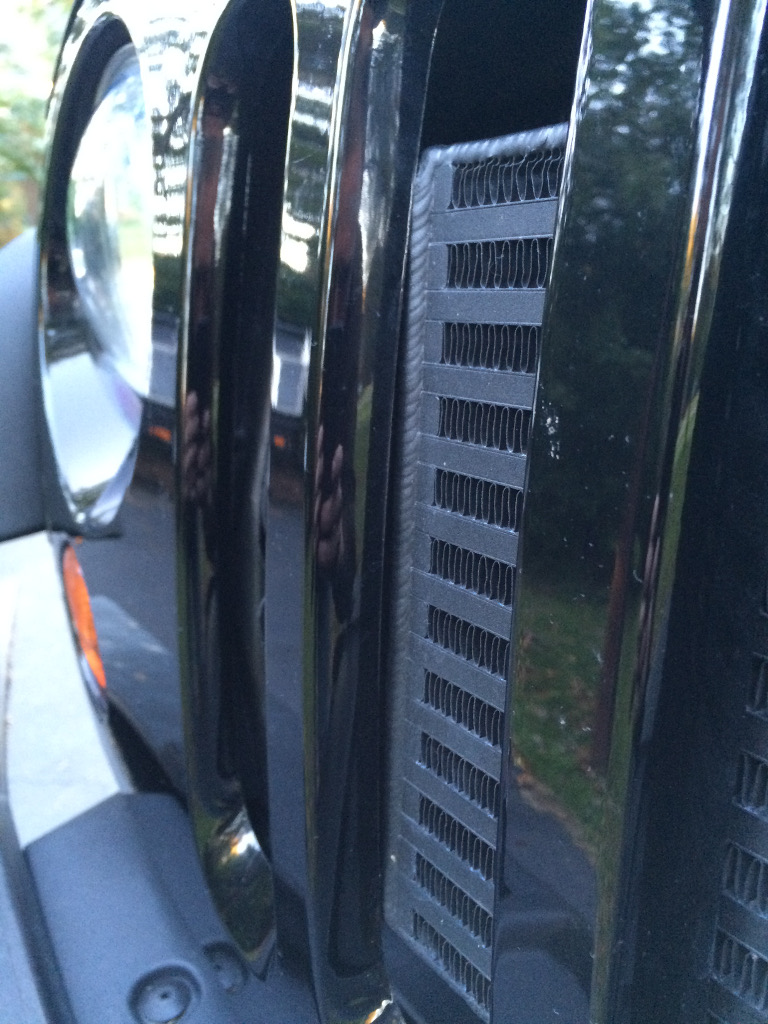
    And some details of the final result to give you an idea of how it should be positioned...

    It touches the back side of the grill in a few spots:


    This plastic here needs to be trimmed to make room for the intercooler hose (both sides). A Dremel with a routing bit was used for the rough cut, then a sanding drum bit to clean it up:


    The instructions say to just completely remove the thin flexible air deflector material in this area, but I chose to try to keep as much of it as possible. An xacto knife cut through that material quite easily.


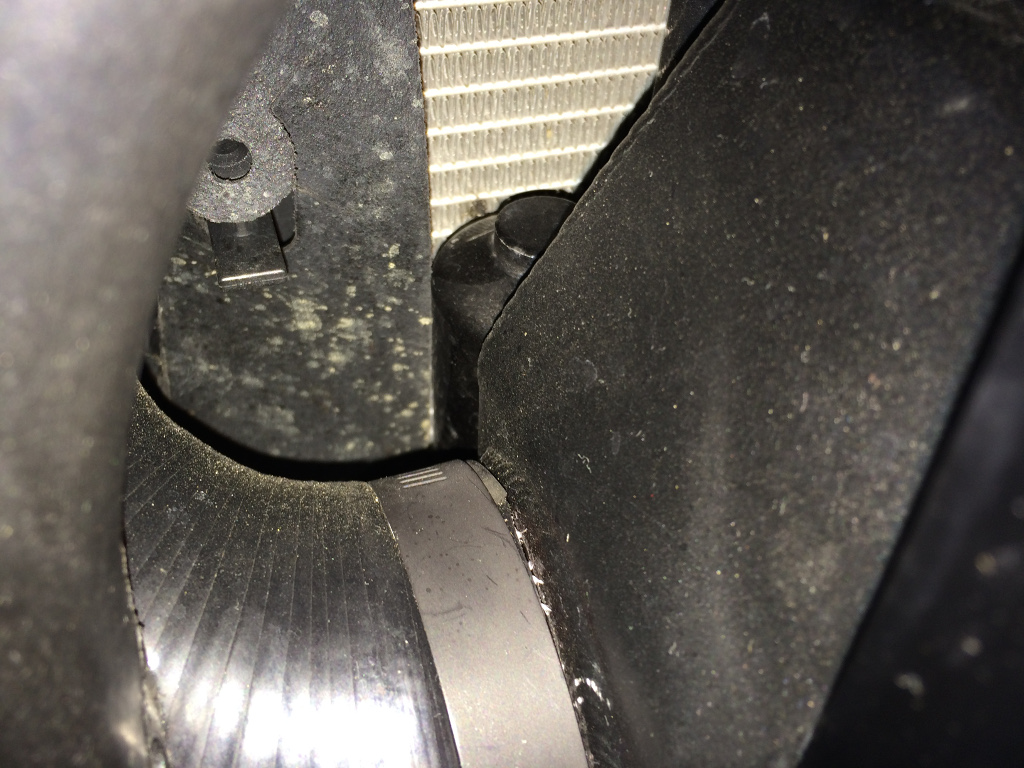
    And here you can see that cylinder that's part of the A/C condenser, right behind the intercooler:


    I had to gently, but firmly, push on that cylinder to bend it slightly backward at its base. This reduced the amount of pressure it applies on the intercooler against the grill.


    Once you have test fitted the intercooler and trimmed the plastic, I got the best results from mounting the intercooler before hooking up any hoses. This is how I got my intercooler perfectly centered. Instructions have you connect the intercooler to the turbo before mounting it, but I found this made it extremely difficult to get the intercooler lined up with the holes to get the bolts in, and impossible to get it centered.

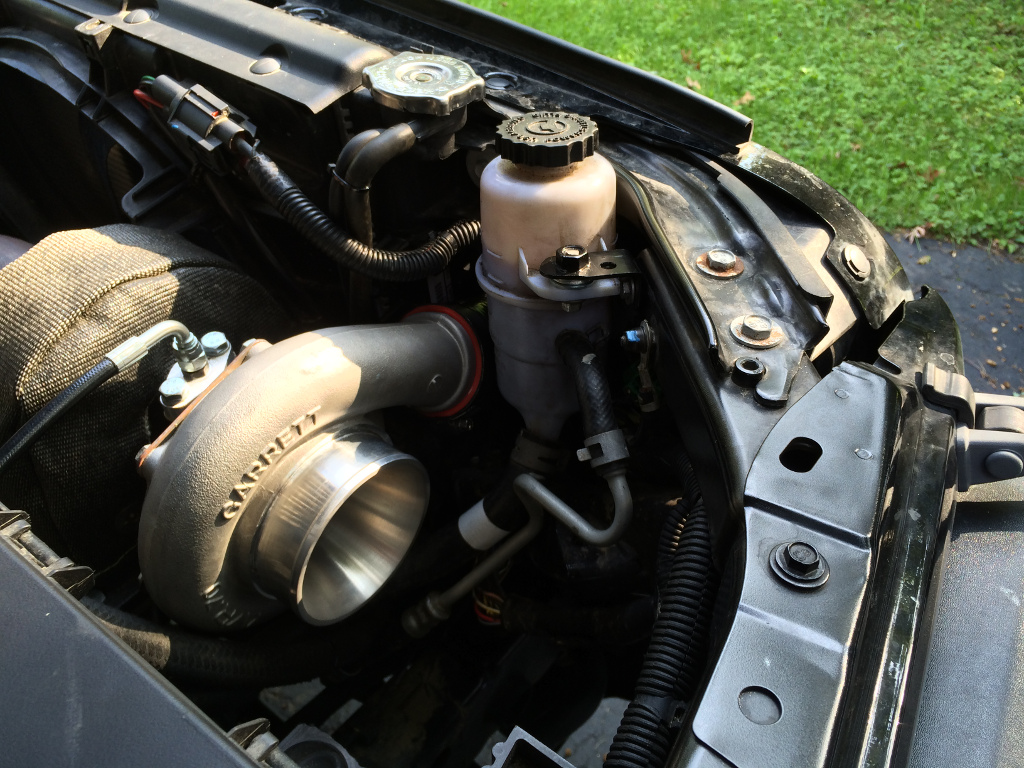
    To connect the turbo to the intercooler, you need to slightly loosen the compressor housing bolts so that the compressor housing can rotate. The power steering reservoir also needs to be un-mounted so that it can be moved out of the way. It's easiest of you also remove the air filter so you have more room to push the power steering reservoir aside.

    The silicone elbow is fed in from the engine bay through to the grill area, and connected to the intercooler. It's tight in there, so be prepared for some frustration. A small amount of dish soap helps the silicon hose slip onto the intercooler. Then the compressor housing is rotated forward, popping the silicon elbow onto it. The end result looks like this:


    Before you get too far ahead, double-check the clearance between the intercooler hose and the trimmed plastic. I had to remove the silicone elbow and do some more trimming.


    The power steering reservoir doesn't quite fit in its original location. You need to remove the mounting bracket and trim a couple locating tabs off of it (Dremel cut-off wheel worked well) so that the mounting bracket can be rotated upside down and slightly tilted like this:


    And a plastic rib on the reservoir's mounting tab needs to be trimmed a bit so that it can be mounted under the bracket instead of on top:


    I added a few washers to drop the reservoir a bit lower. Without the washers, the hood would contact the reservoir's cap when closed.


    The other side of the intercooler is a bit easier to hook up. A silicone elbow is similarly fed through from inside the engine bay to connect to the intercooler. Then the charge pipe (with BOV) is connected to that elbow. There's two A/C lines that will need to be gently bent to make room for the pipe:


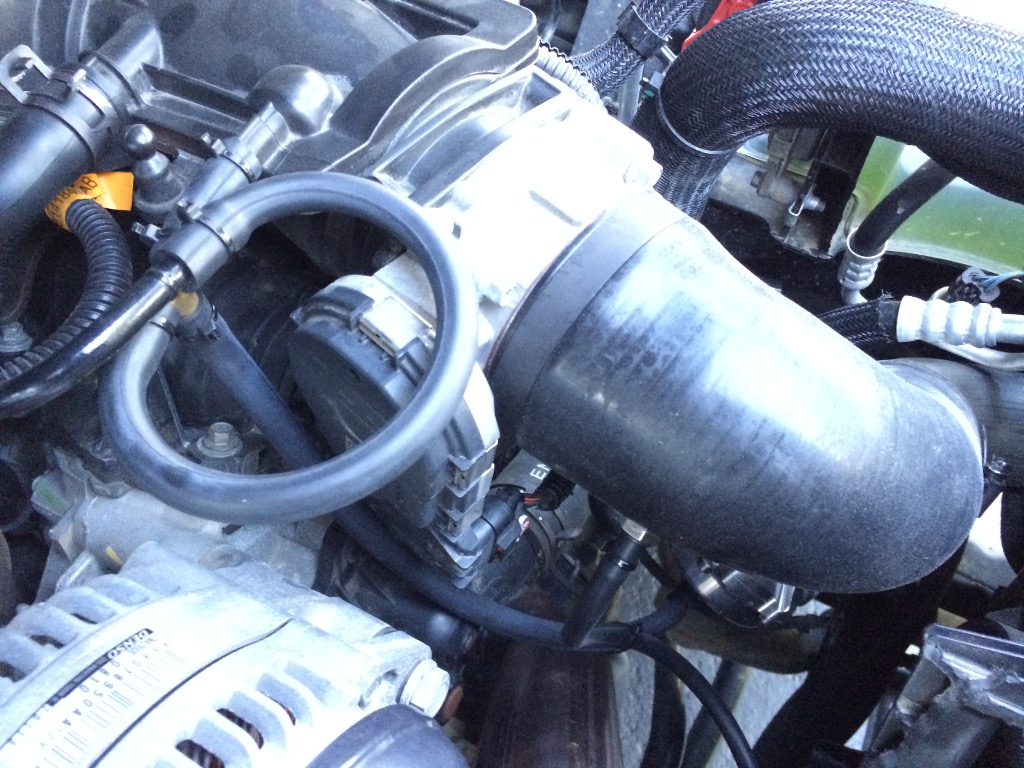
    The last silicone elbow connecting to the throttle body is different from that of the stage 1 kit, so you'll have to transfer the IAT sensor over to the new part (if upgrading from stage 1).


    All that remains is to hook up the vacuum/boost lines to the wastegate and BOV. I'll save that for another day.
    Last edited by UselessPickles; 11-19-2014 at 11:59 PM.

  5. #235
    I guess I'll just finish up now, since I've already fully documented my wastegate and BOV setup elsewhere. Just some copy, paste, and edit work...


    So as I've already discussed in a few other places on JeepLab's forum, I did not follow Prodigy's design for the BOV and wastegate lines. Go back to this post to see some details I already covered about where the wastegate line gets connected with stage 2, and where it really should get connected: http://jeeplab.com/showthread.php?14...ull=1#post2740

    Quick review...

    This link has cool info and pictures to explain stuff: http://www.miataturbo.net/diy-turbo-...eed-ebc-47532/


    The wastegate should be connected to position "B", between the intercooler and the throttle body.

    Stage 1 has the wastegate connected to position "A". Since stage 1 has no intercooler, this is fine. Without an intercooler, there is no significant difference in pressure measured from position "A" or position "B".

    The official instructions for stage 2 have you connect the wastegate to position "C". This post explains why position "C" is bad: http://www.miataturbo.net/diy-turbo-...32/#post574757


    For my install, I used one of these to add a boost source at position "B" for my wastegate:
    http://www.atpturbo.com/mm5/merchant...egory_Code=BCS


    Here's the boost source for my waste gate:


    I zip-tied the waste gate line to the BOV line, and at two points on the radiator fan shroud. One of the points is simply tied to an existing wire that is secured to the fan shroud. I had to drill a small hole through an "arm" of the fan shroud closer to the BOV to add a zip tie there and hold the wastegate line away from the exhaust down pipe.


    And here's how my BOV line is teed into an existing vacuum source on the intake manifold:


  6. #236
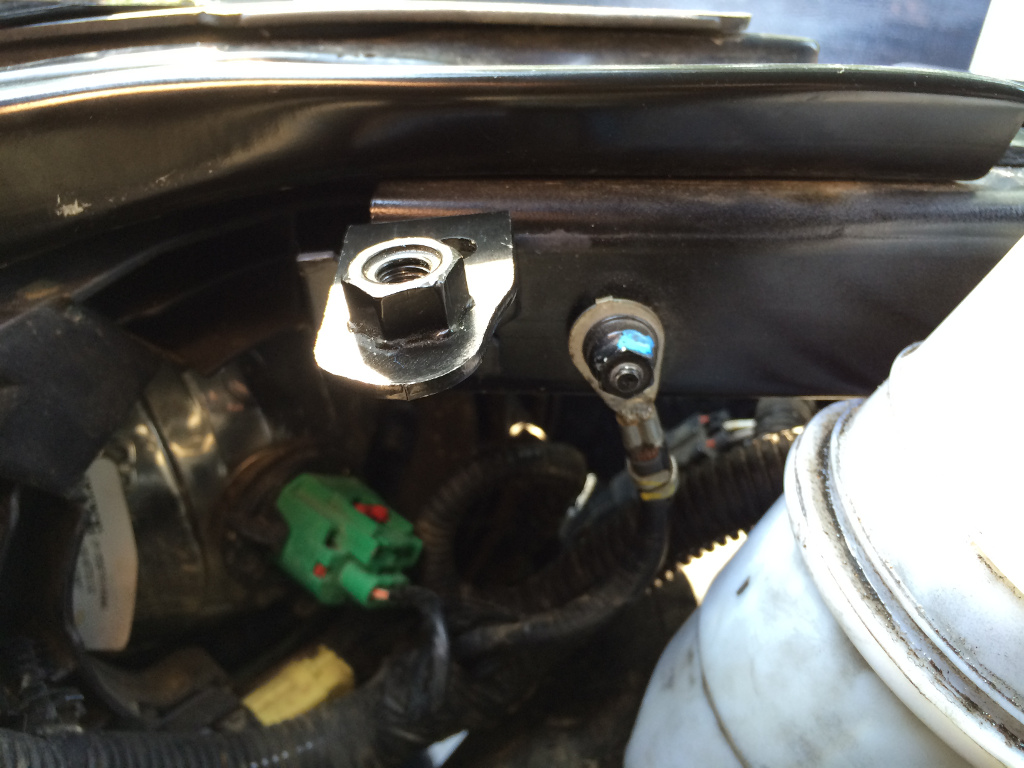
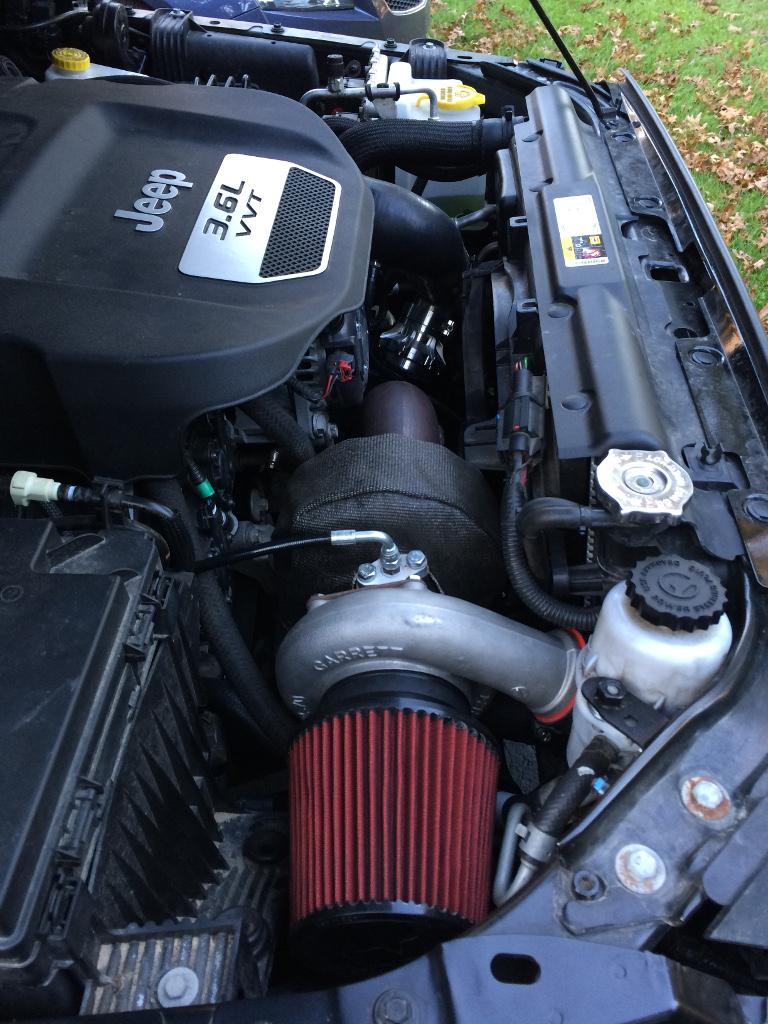
    And some pictures of the final result:


  7. #237
    They should just make this thread their install manual.

  8. #238
    Quote Originally Posted by Gunner View Post
    They should just make this thread their install manual.
    Pickles, that ^^ is the best compliment ive ever seen. Well done.

  9. #239
    Thanks

    And there's so many details that could be better explained if I had taken the time to take more pictures, and many details I did not describe because they are already explained well in the install guide. After trying to document my install as best as possible, I have a new appreciation for how much effort would be necessary to create a complete, detailed, step-by-step install guide.


    I still have a few more details that I will get to documenting eventually. I have a final PCV hose setup now (until I decide to try working in some oil catch cans in the future), an idea for a better location for the coolant reservoir, and a story about a tiny power steering fluid leak that became a serious leak requiring immediate attention after I tried fixing it.

  10. #240
    I may have shot flames out of my exhaust

    After a full throttle acceleration in 1st and 2nd gear, I quickly let off the throttle and shift into neutral (with the intention to shift into 6th gear as soon as the engine speed comes down) around 50mph, because I'm on a public road and want to avoid speeding. A split second afterward, I hear a significant muffled "pop" come from behind/below the jeep.

    This has happened a few times recently. My wife heard it the other day and also immediately wondered if I had just shot flames out the tailpipe.

    Has anyone else experienced this?

    I wonder if this is an indication that the tune is a bit too rich?

    I might have to stick my GoPro on the back of the jeep and attempt to re-create this situation at night.

Posting Permissions

  • You may not post new threads
  • You may not post replies
  • You may not post attachments
  • You may not edit your posts
  •