


So now for my leaking power steering fluid story...
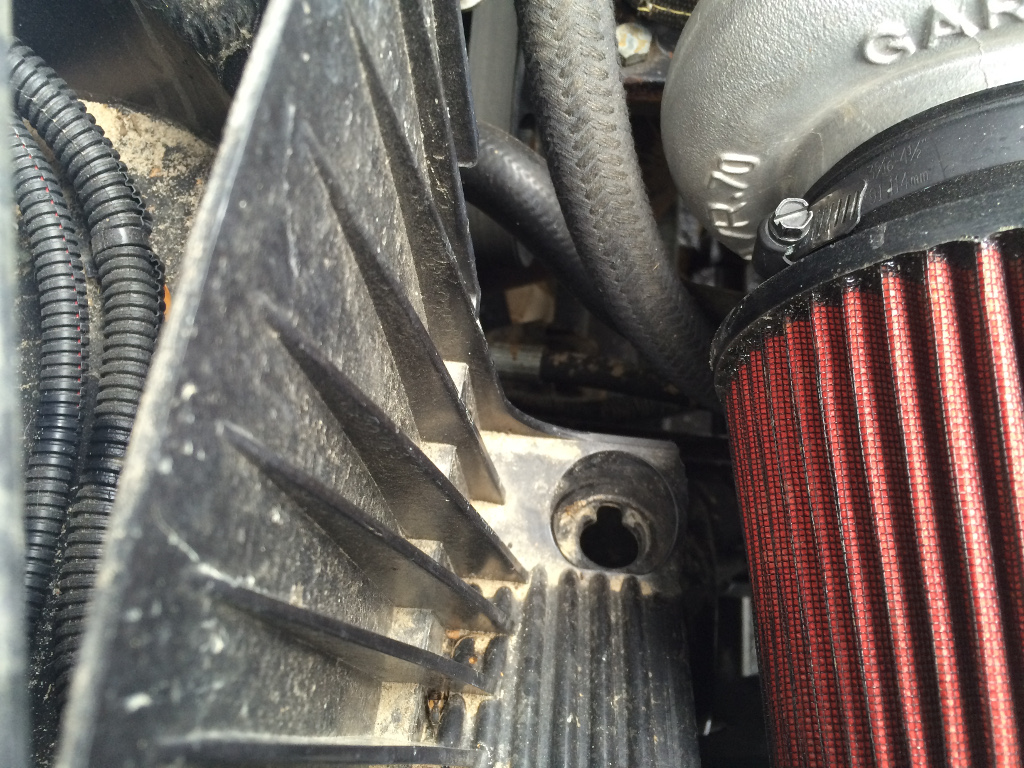
After installing the new power steering hose, there were no obvious leaks. But as time went by, I started to notice there was a damp spot on the steering gearbox around the hose fitting. It slowly grew bigger over time. So one day, I decided I would get in there with a wrench and just snug it up a bit tighter to stop the leak. The next day, the entire gearbox was completely soaked in a thick coat of fluid, and the fluid level in the reservoir had visibly dropped.
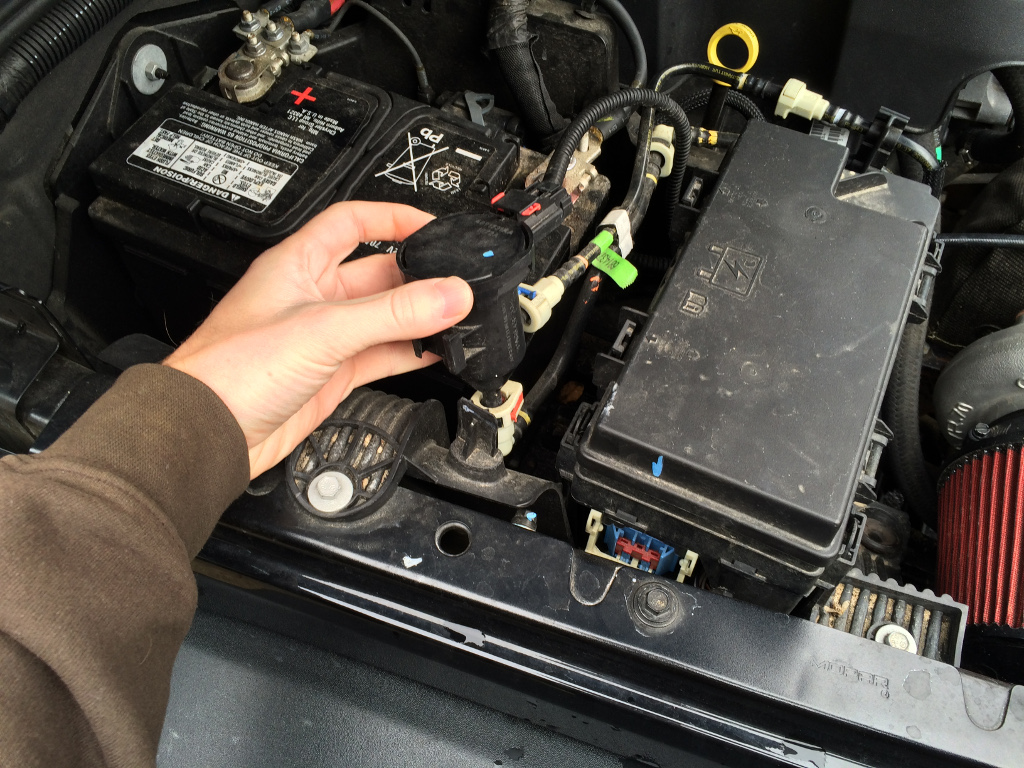
So I ended up out in the driveway in the dark (got a late start in the evening) with a head lamp, going through the whole messy process of removing the power steering hose again so that I could hopefully find an obvious cause for a leak.
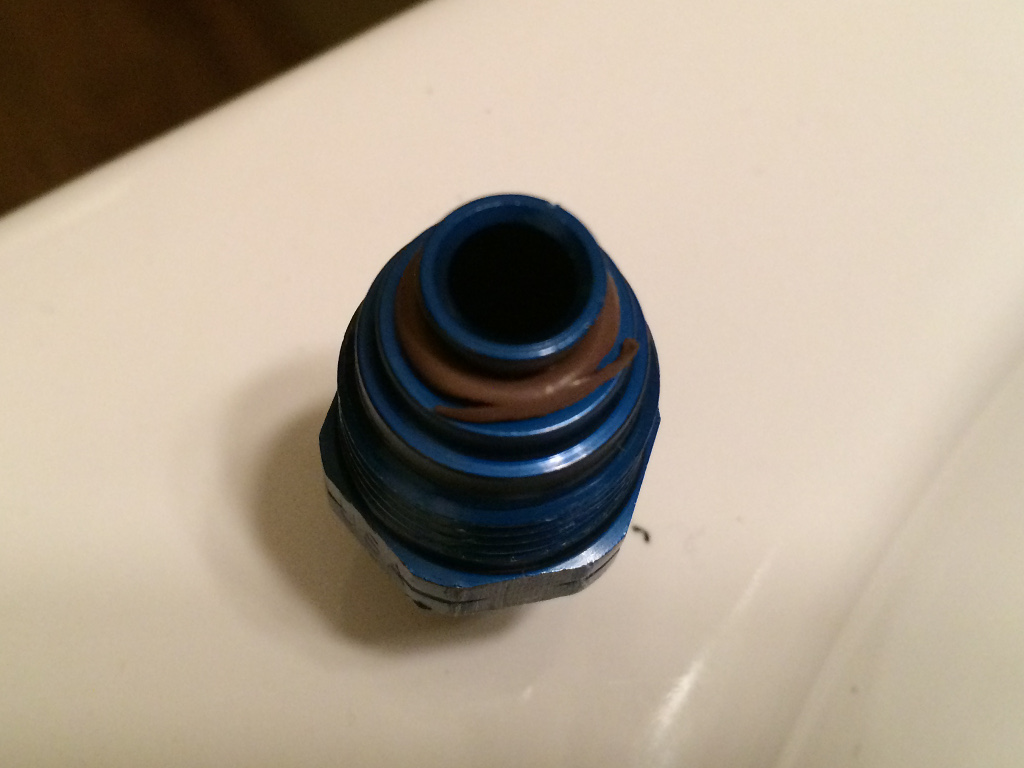
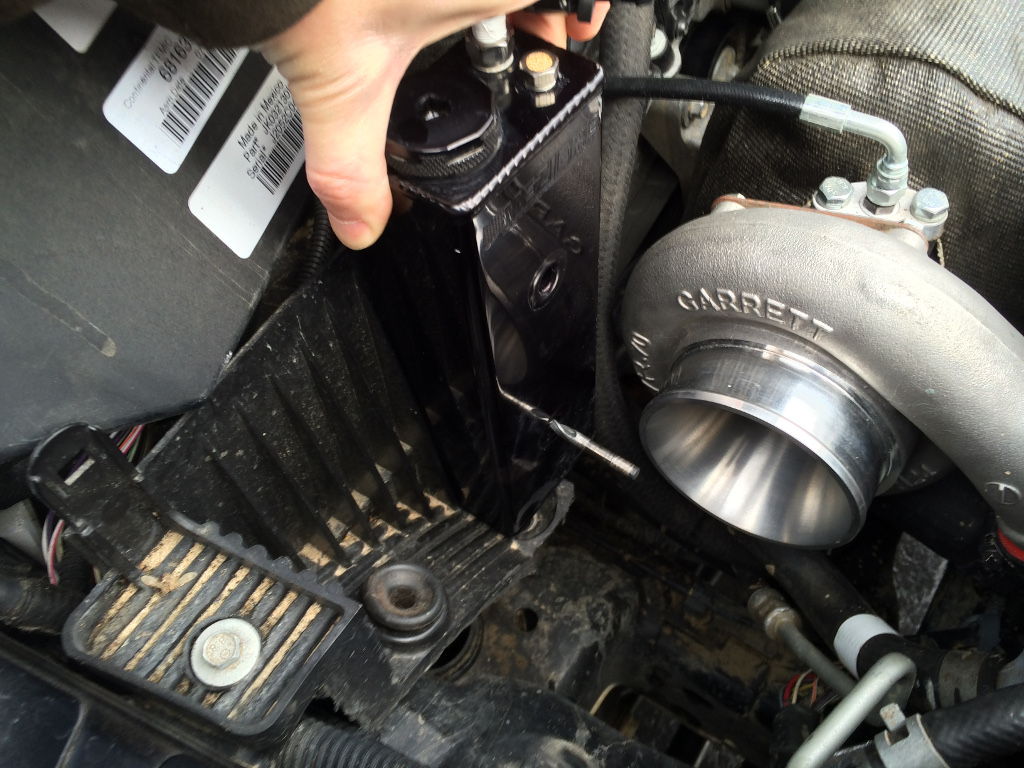
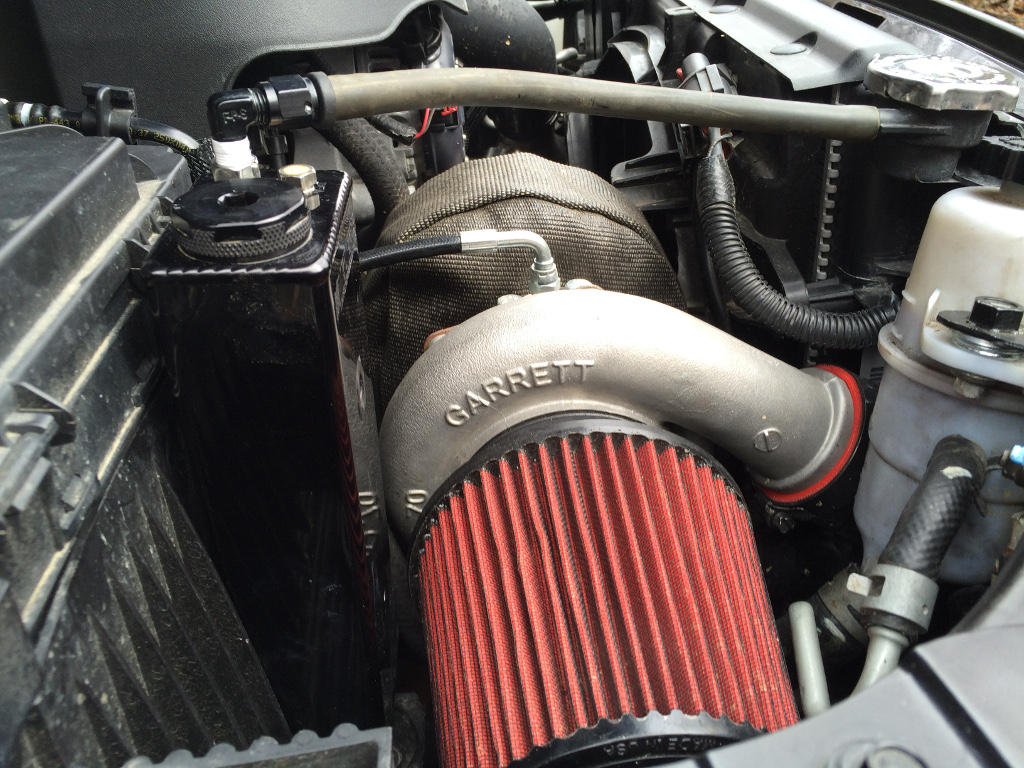
And it was luckily quite obvious:
The OEM power steering hose has funky ends that appear to be a small compression fitting with an o-ring. From some quick searching, this seems to be a common type of hose fitting for power steering lines (probably other high pressure hydraulic lines too). The new hose in the stage 2 kit has "AN" style flared compression fittings, and comes with adapters (one pictured above).
Some googling taught me that you need to pre-lube the o-rings on these fittings before installing, and then also not over-tighten them, or else you can damage the o-ring and cause a leak. I didn't pre-lube it when I installed it, which probably partially damaged it. Then tightening it more to try to stop the leak just damaged it more.
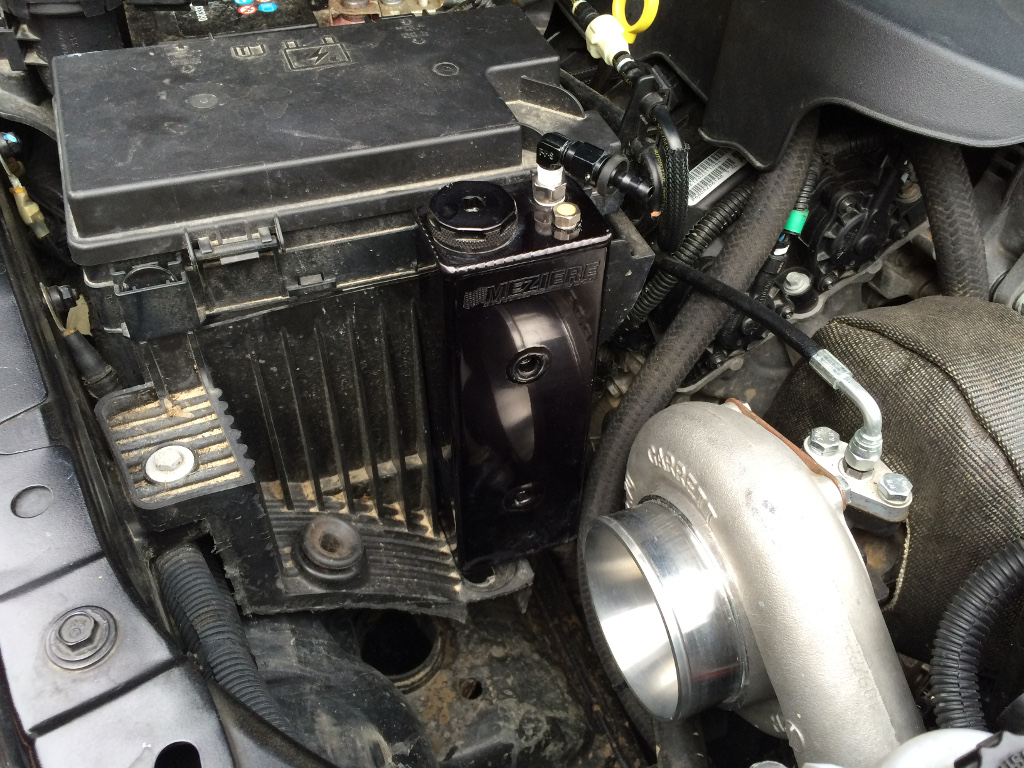
A trip to a small local hardware store in the morning was all I needed to find a replacement o-ring that was very close in size. This time, I pre-lubed the o-rings with fluid (ATF-4 is what the manual calls for in the power steering system, btw), and followed some advice I found for tightening: gently thread it in until you feel it "bottom out" (obvious sudden increase in resistance), then just snug it up about another 1/8 turn. It doesn't need to be super tight.
The tricky part is that the AN flared fitting needs to be tightened more tightly, so you should hold the adapter steady with a second wrench while tightening the hose onto it to avoid accidentally indirectly over-tightening the adapter.
I'm learning all kinds of stuff from my mistakes with this turbo install

 Reply With Quote


Connect With Us